.jpeg)
Deploy When Available is now GA
Queue for any GPU spec, even one that's fully rented out, and we'll deploy it the moment capacity opens up. No more refreshing the console or running a sniping tool.
All
Blog
Optimize Mistral-7B deployment with Runpod by using quantized GGUF models and vLLM workers, compare GPU performance across pods and serverless endpoints.


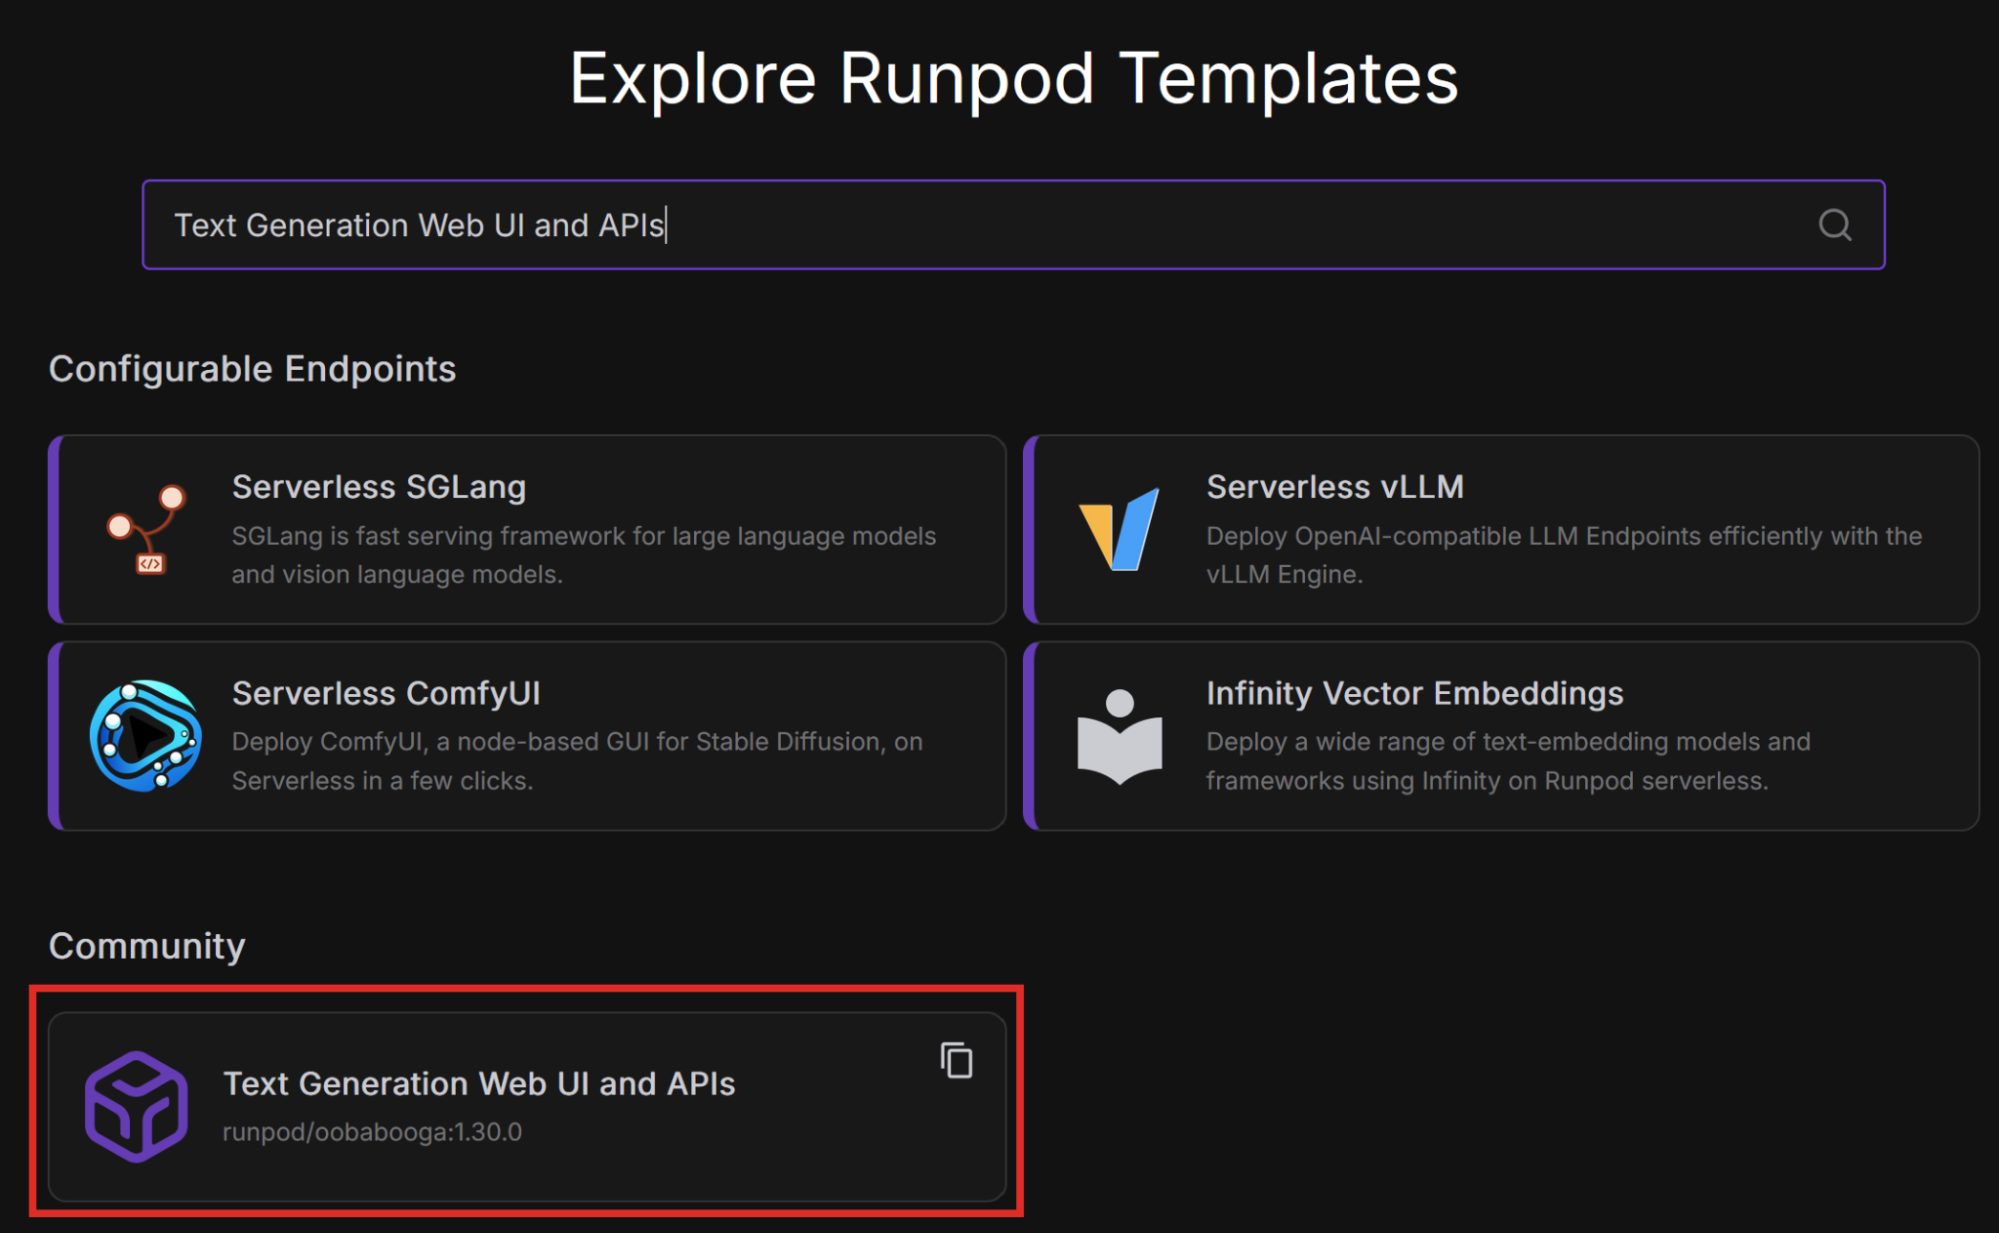
A previous blog post, No-Code AI: How I Ran My First LLM Without Coding, walked through deploying the Mistral-7B LLM on Runpod without writing code. The author did this with the text-generation-webui-oneclick-UI-and-API template, which enables you to interact with the model through a chat interface using text-generation-web-ui.
This post builds on that foundation, exploring the same deployment path but through a more technical lens. If you have already deployed Mistral before, see how you can further optimize and customize it to get better control and performance.
In this blog post, you’ll learn how to:
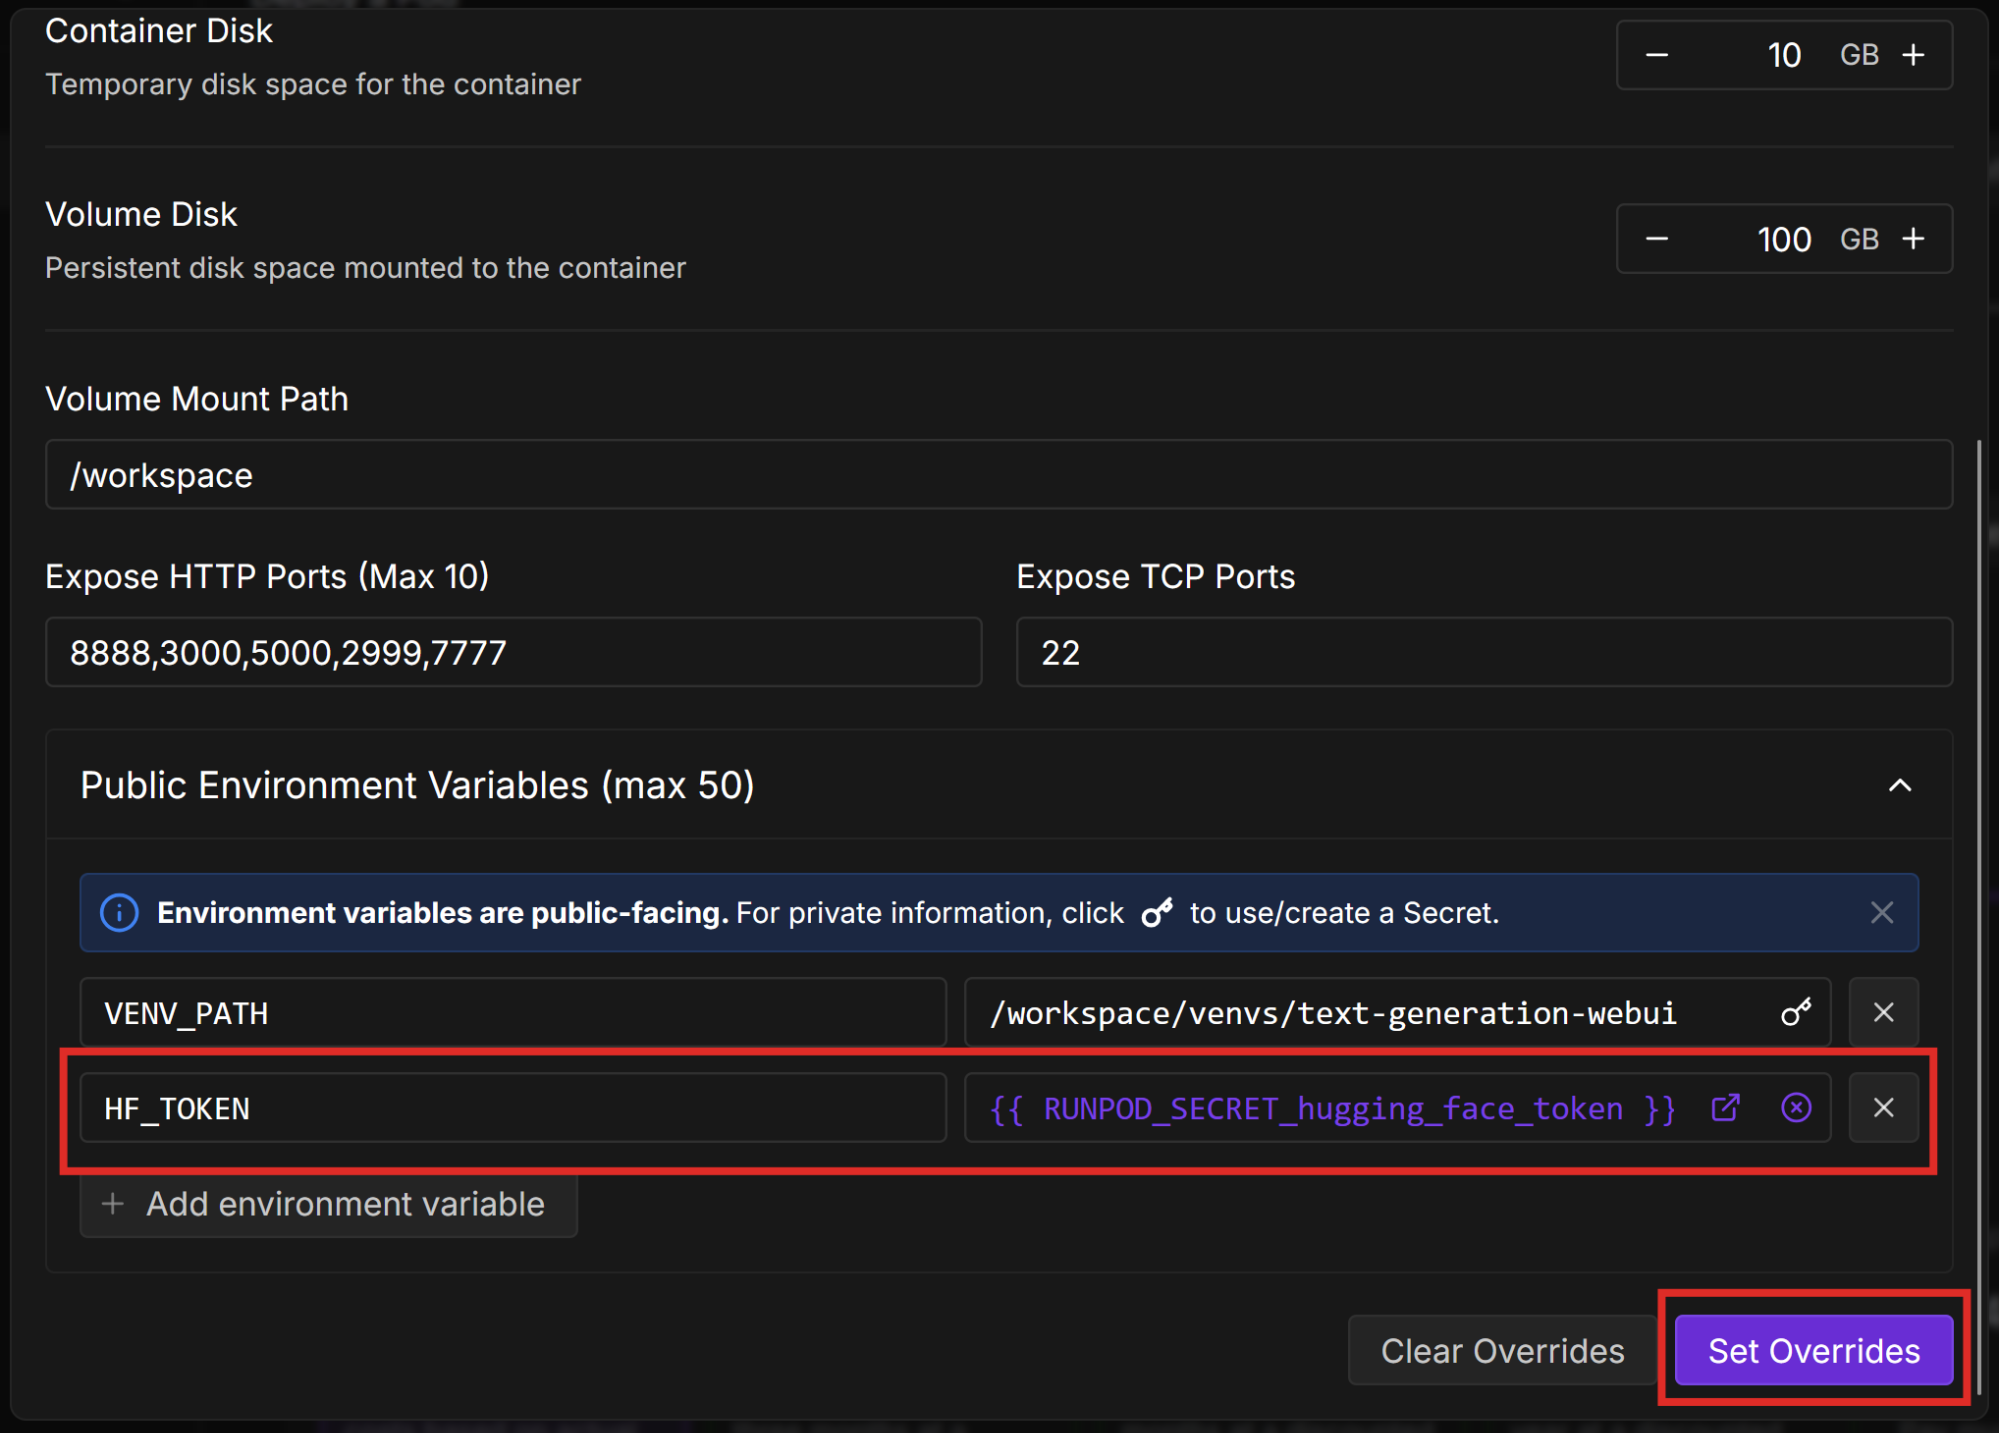
Before following this tutorial, do the following:
LLM quantization is a compression technique that reduces the precision of a model’s parameters from a high-precision format, such as 32-bit floating point, to a lower-precision format, such as 8-bit integers. This reduces the size of the model, meaning that it consumes less memory, requires less storage, is more energy-efficient, and runs faster.
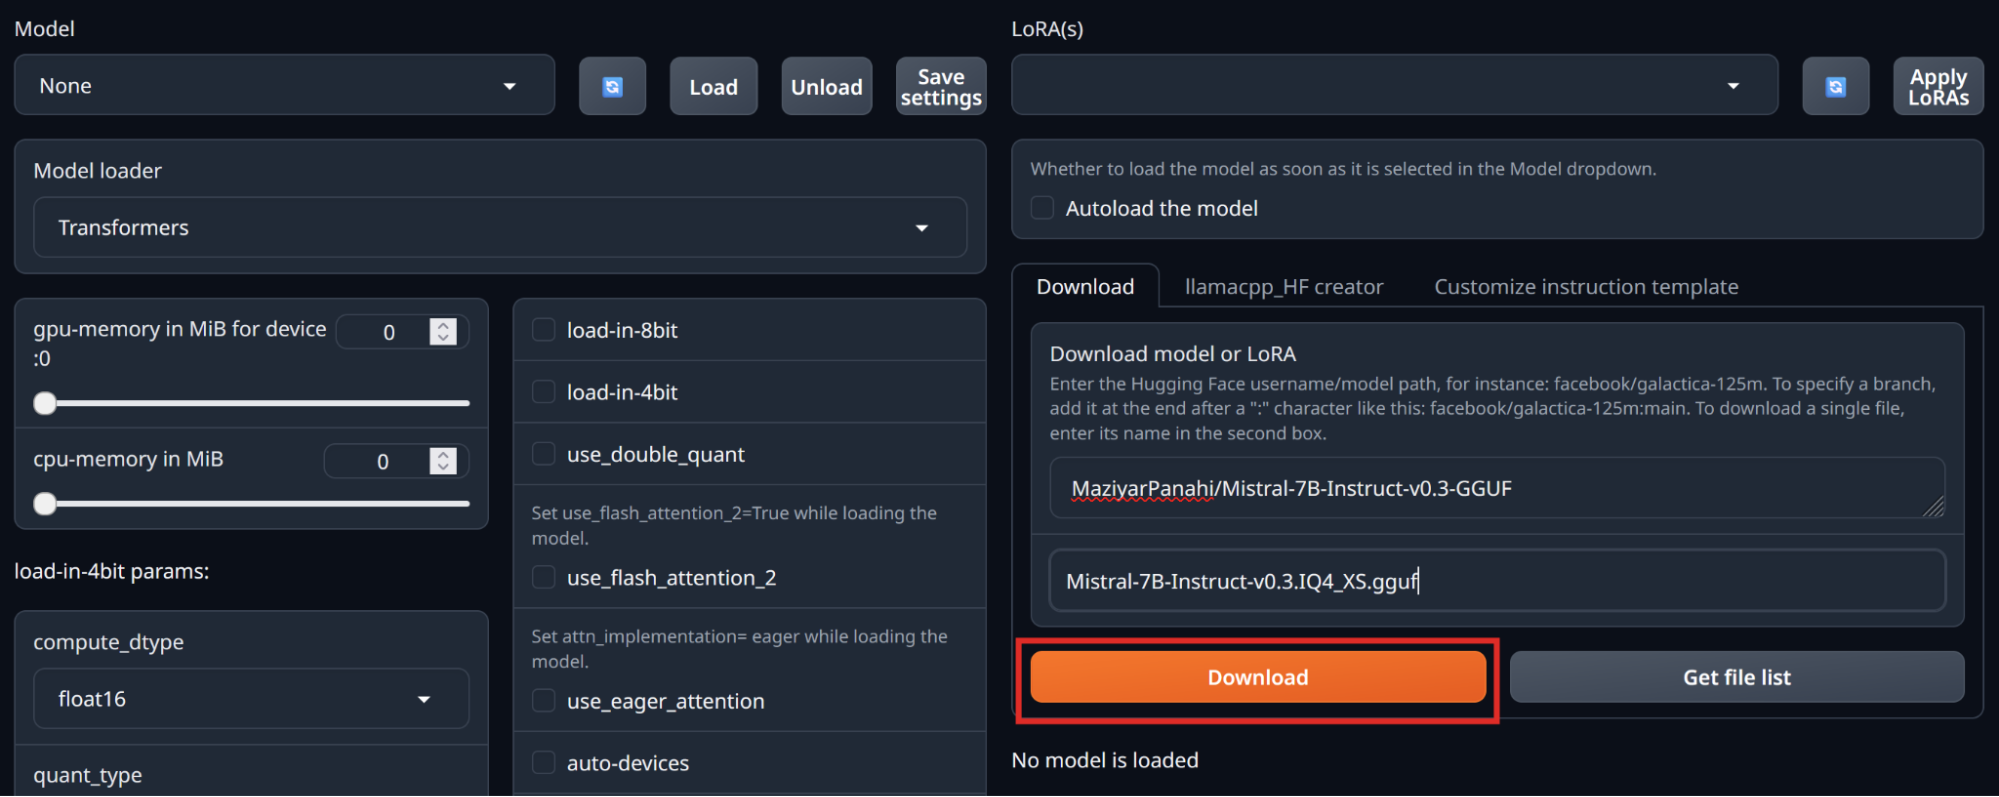
We’ll deploy Mistral-7B in the GGUF format, which is optimized for efficient storing and deploying of models and designed to work well on consumer hardware. It also provides improved performance and support for quantization.
Let’s deploy a 4-bit quantization of the Mistral-7B model and compare performance across different GPUs.


tail outputs the last 10 lines (by default) of a file. The -f switch “follows” the file as new text is added, and outputs it to the terminal.
The main part we are interested in is the last line, which should look something like this:
Output generated in 3.98 seconds (29.17 tokens/s, 116 tokens, context 95, seed 17592148)
Make a note of this somewhere, because we’ll use it to compare to another GPU’s performance.
Compare the performance of the 4-bit quantized model with the non-quantized model, or other quantizations. You should see performance gains with lower-precision models.
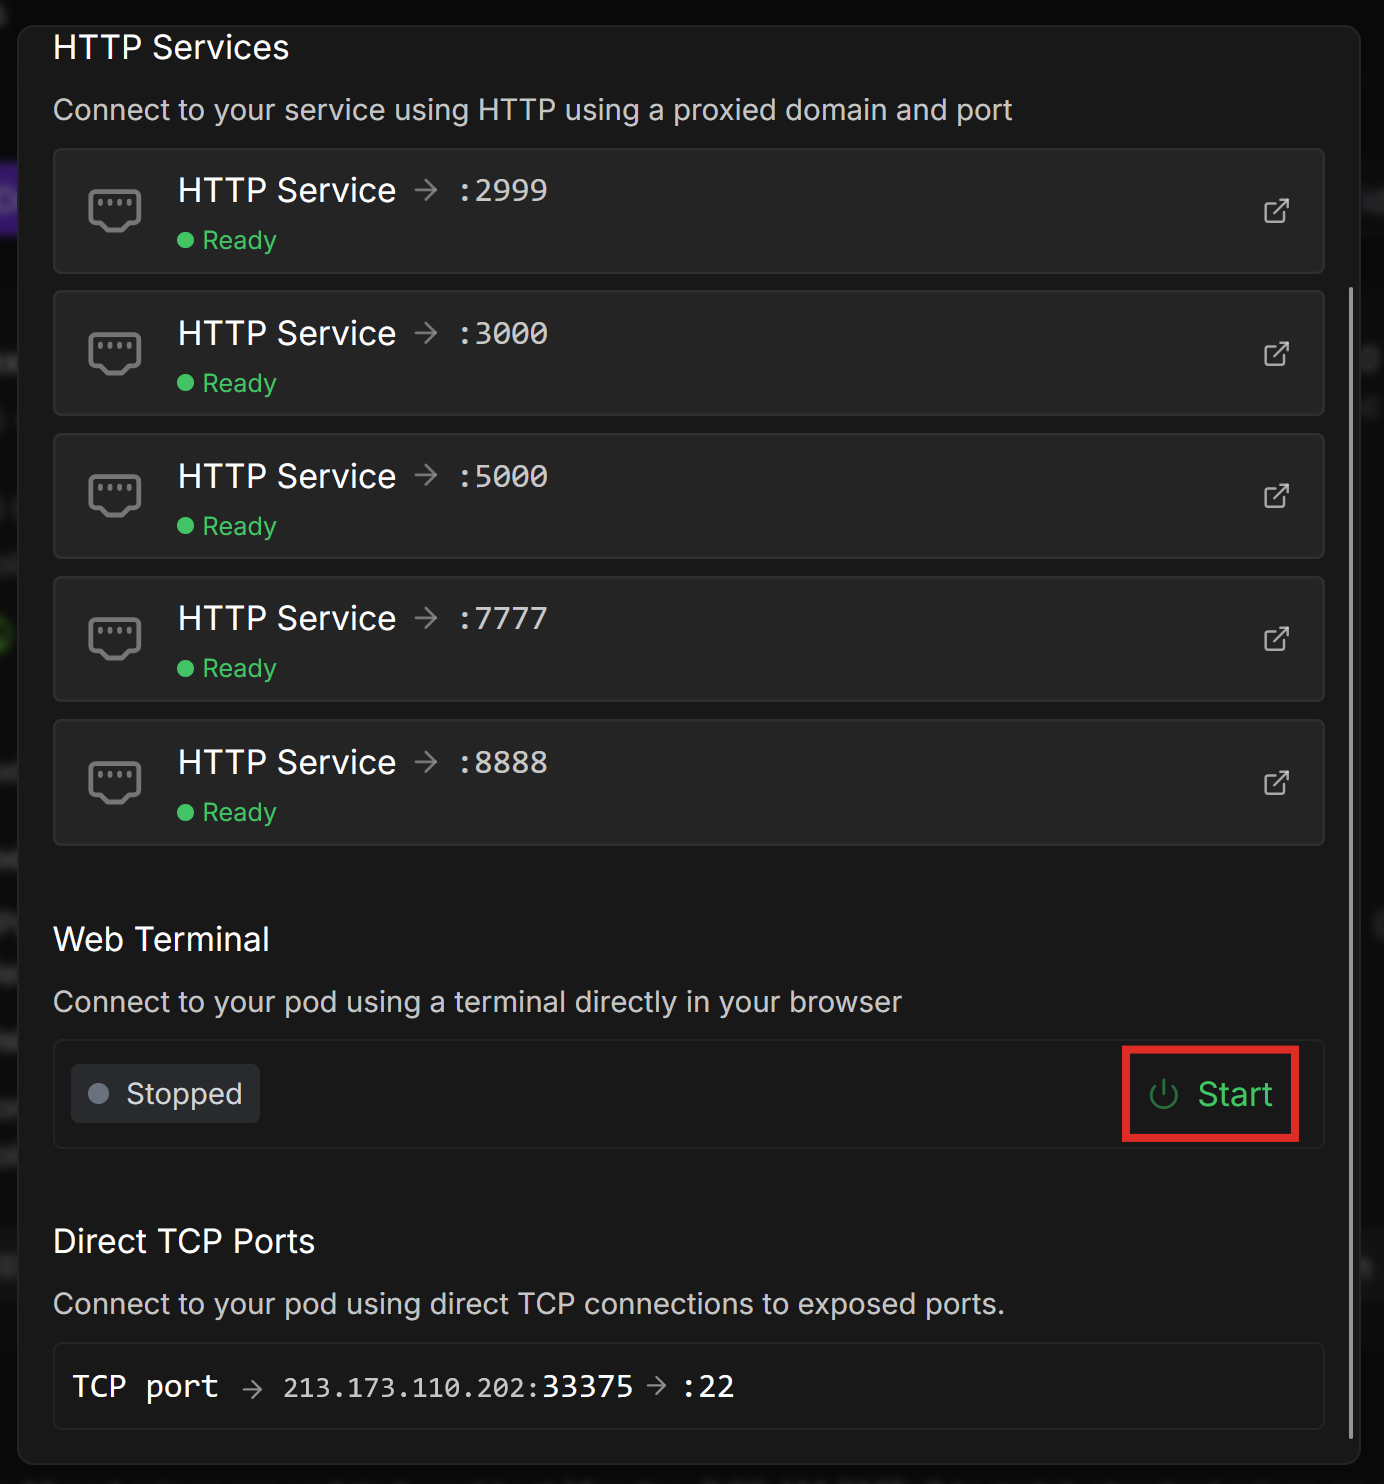
Don’t forget to Stop your pods when you’re done using them, and Terminate them when you no longer need them!
A vLLM worker is a specialized container that efficiently deploys and serves LLMs on Runpod Serverless, designed for performance, scaling, and cost-effective operation.
Runpod Serverless allows you to create an endpoint that you can call via an API. Runpod allocates workers to the endpoint, which handle API calls as they come in.
Serverless vLLMs have several advantages over pods:
If you are not comfortable writing code to call your endpoint, deploying a pod template is a more user-friendly option. However, if you know how to call an API, vLLM on Runpod Serverless is a great option.
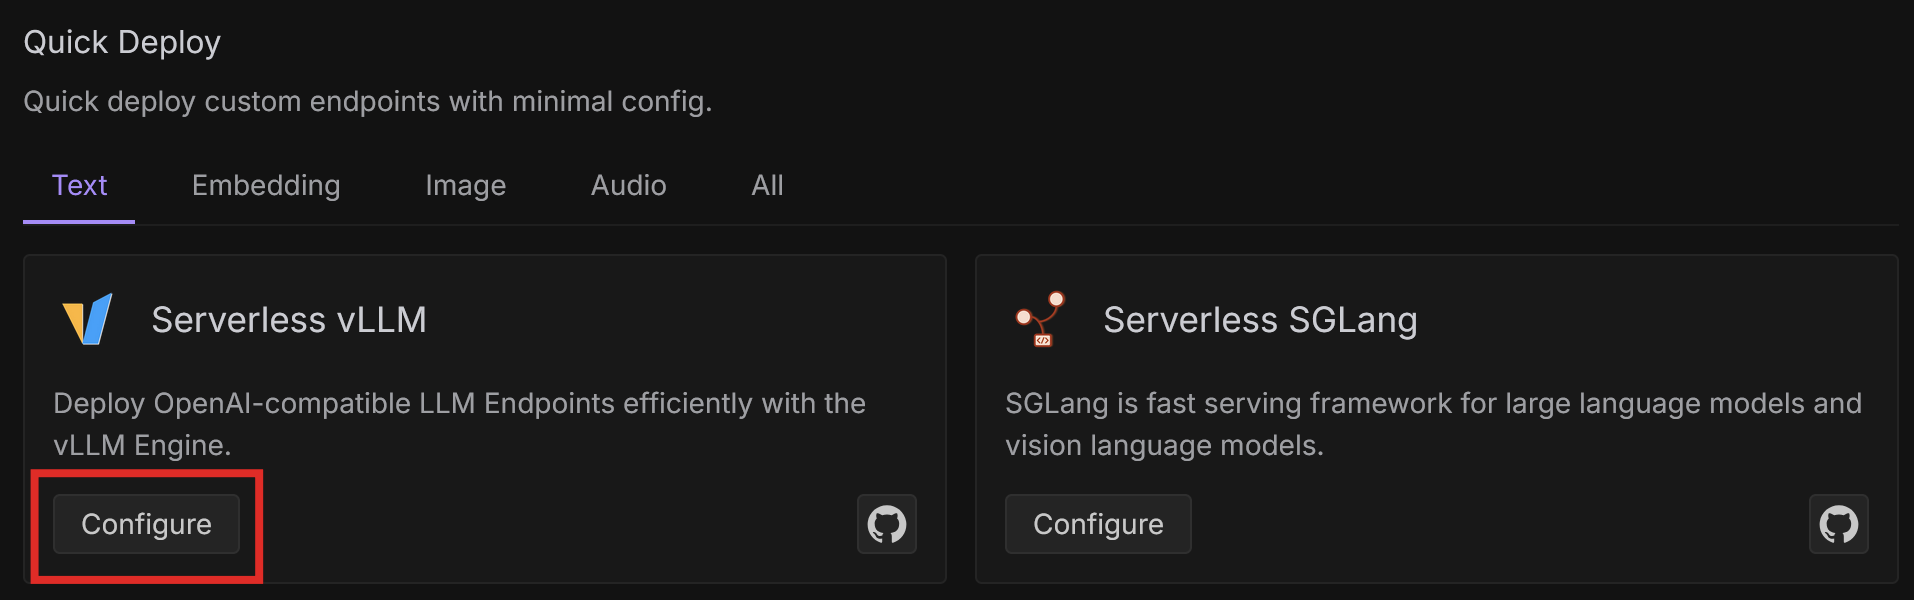
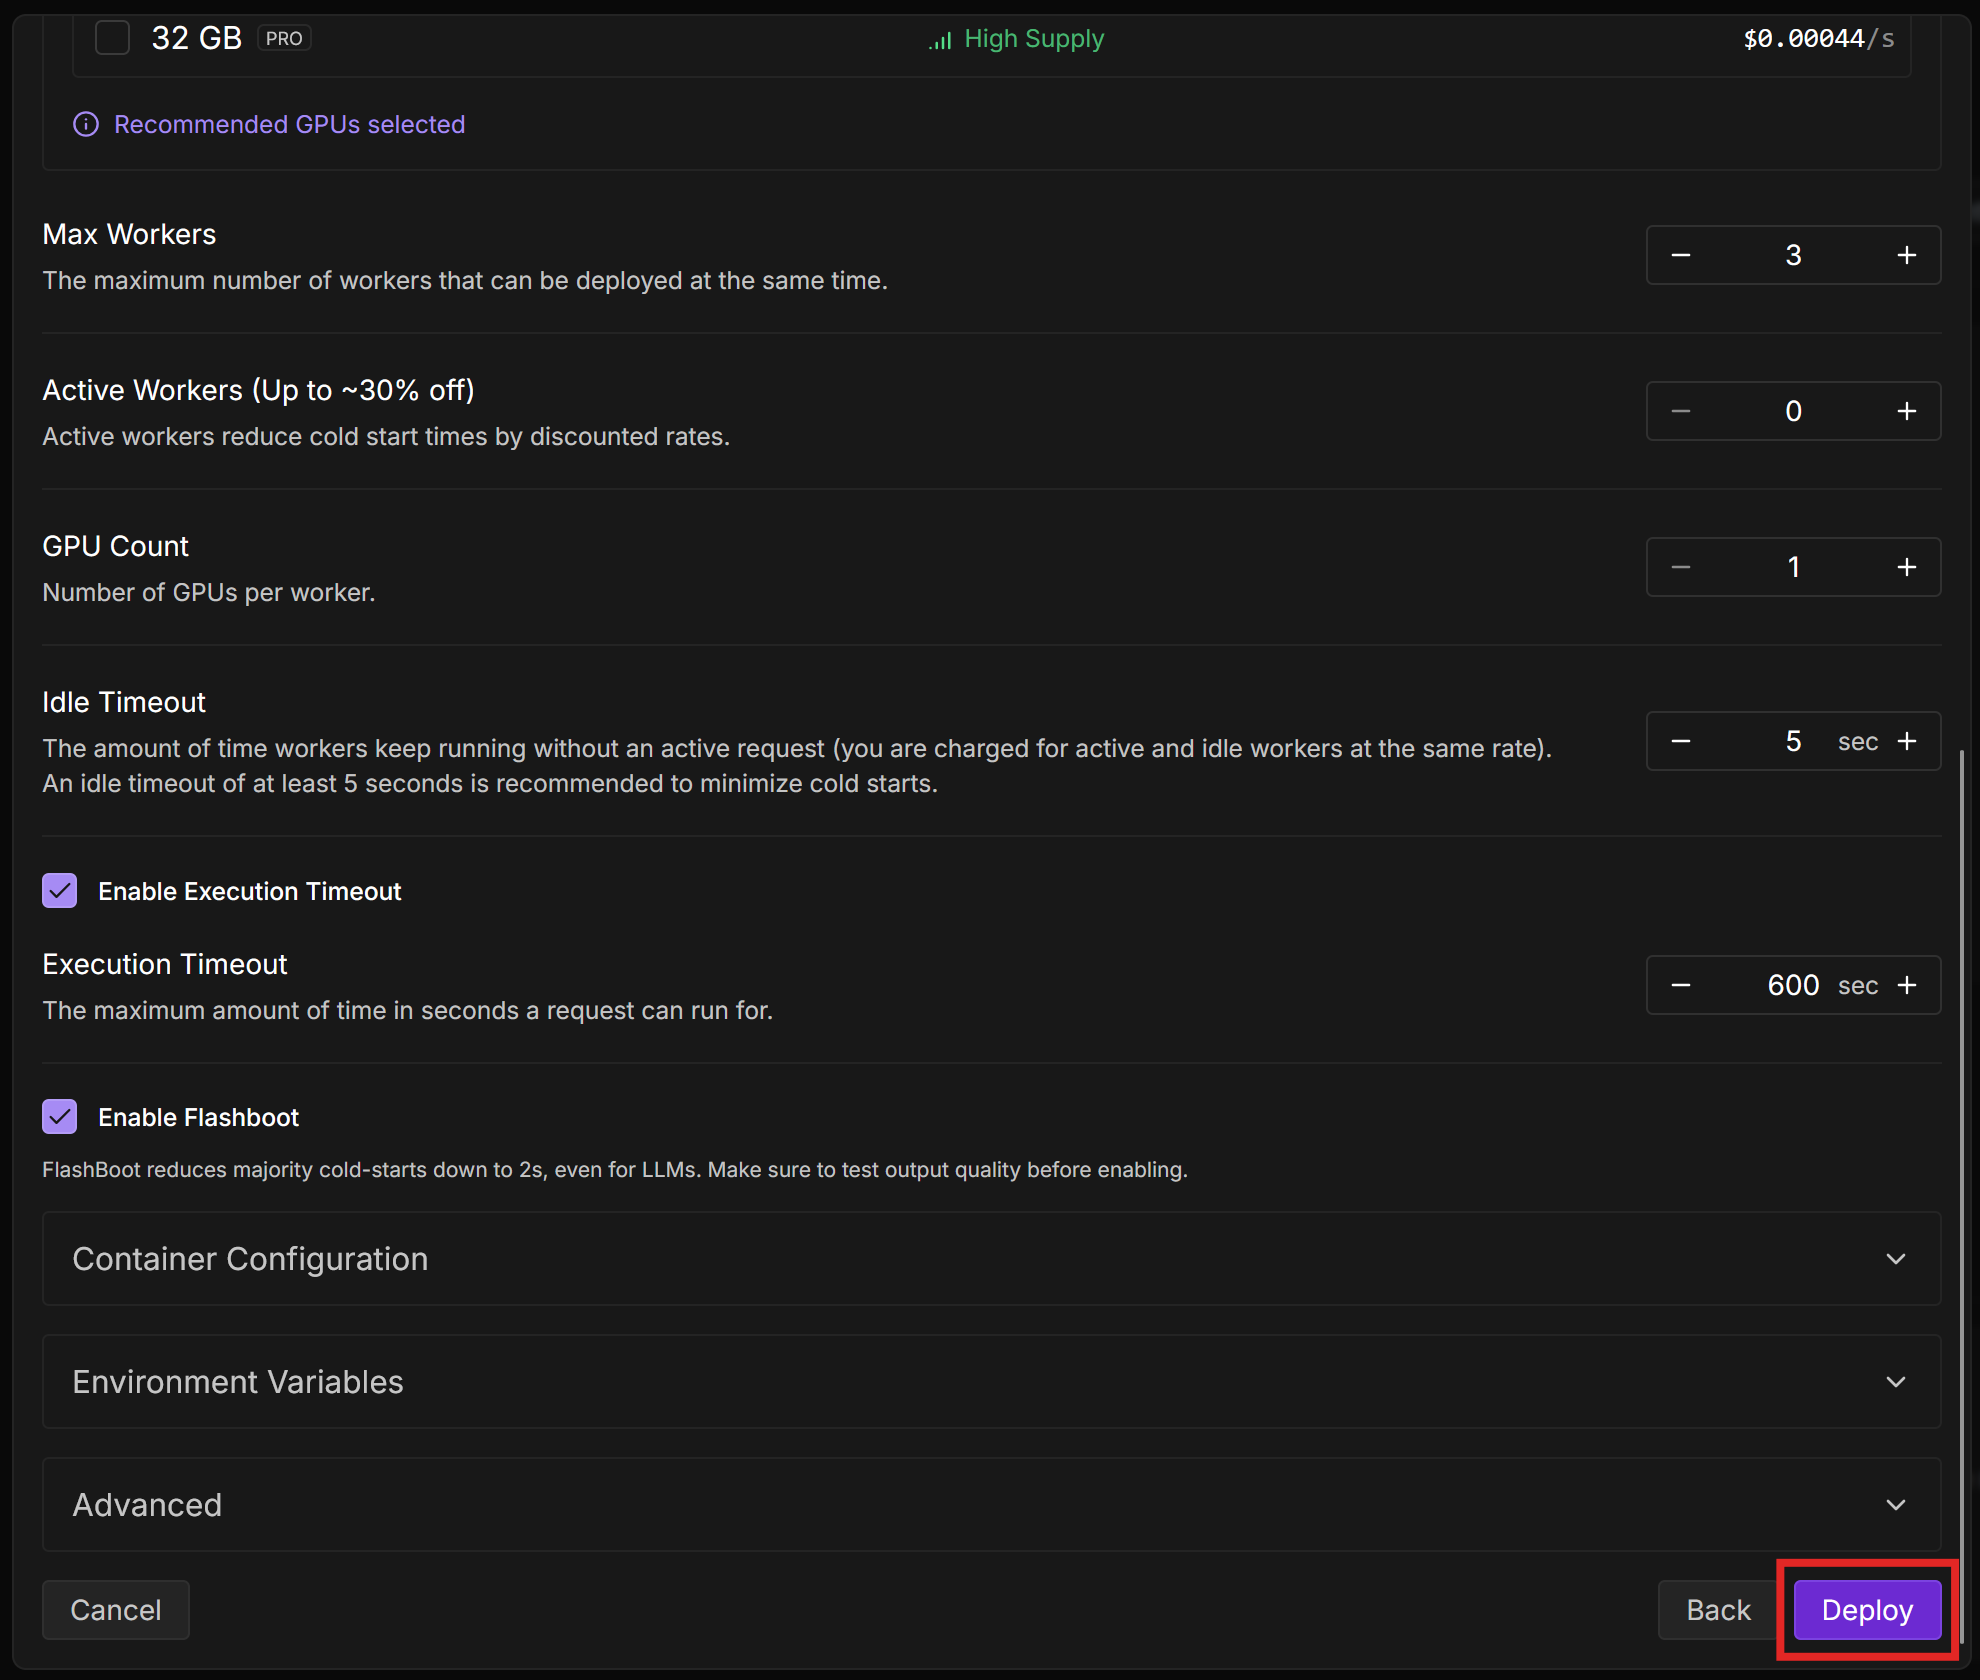
Let’s deploy Mistral-7B using vLLM workers. You can deploy LLMs using either the Runpod Console or a Docker image. We’ll go through the Runpod Console method in this blog post, but if you plan to run a vLLM endpoint in production, it’s best to package your model into a Docker image ahead of time, as this can significantly reduce cold start times. See Deploy using a Docker image.

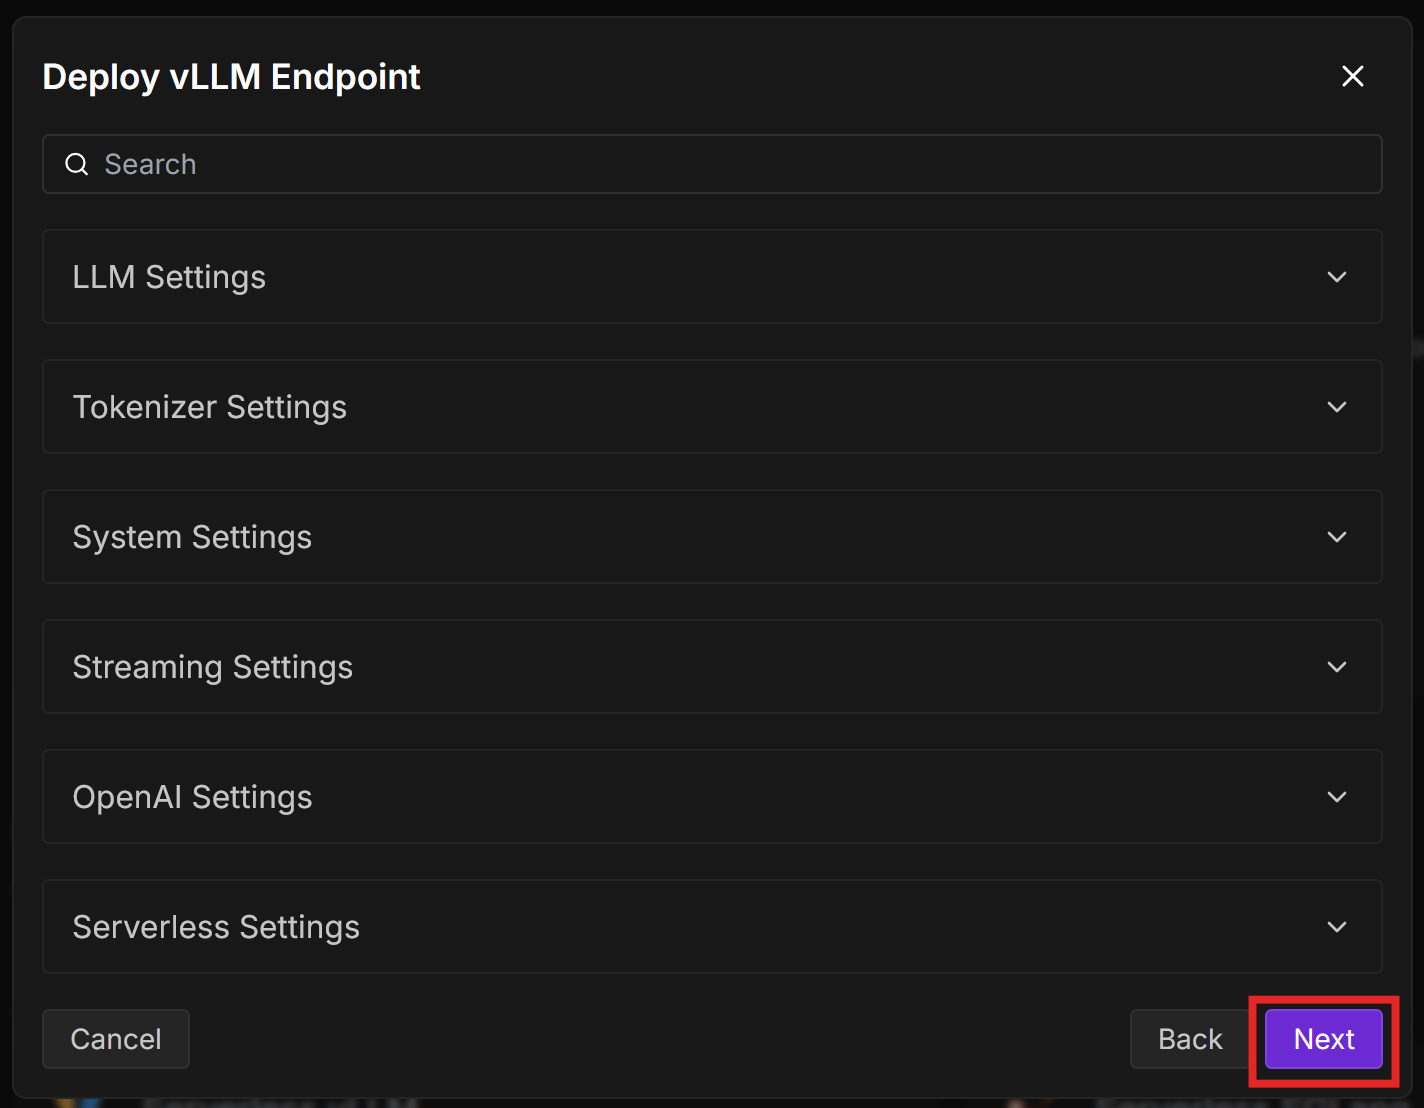
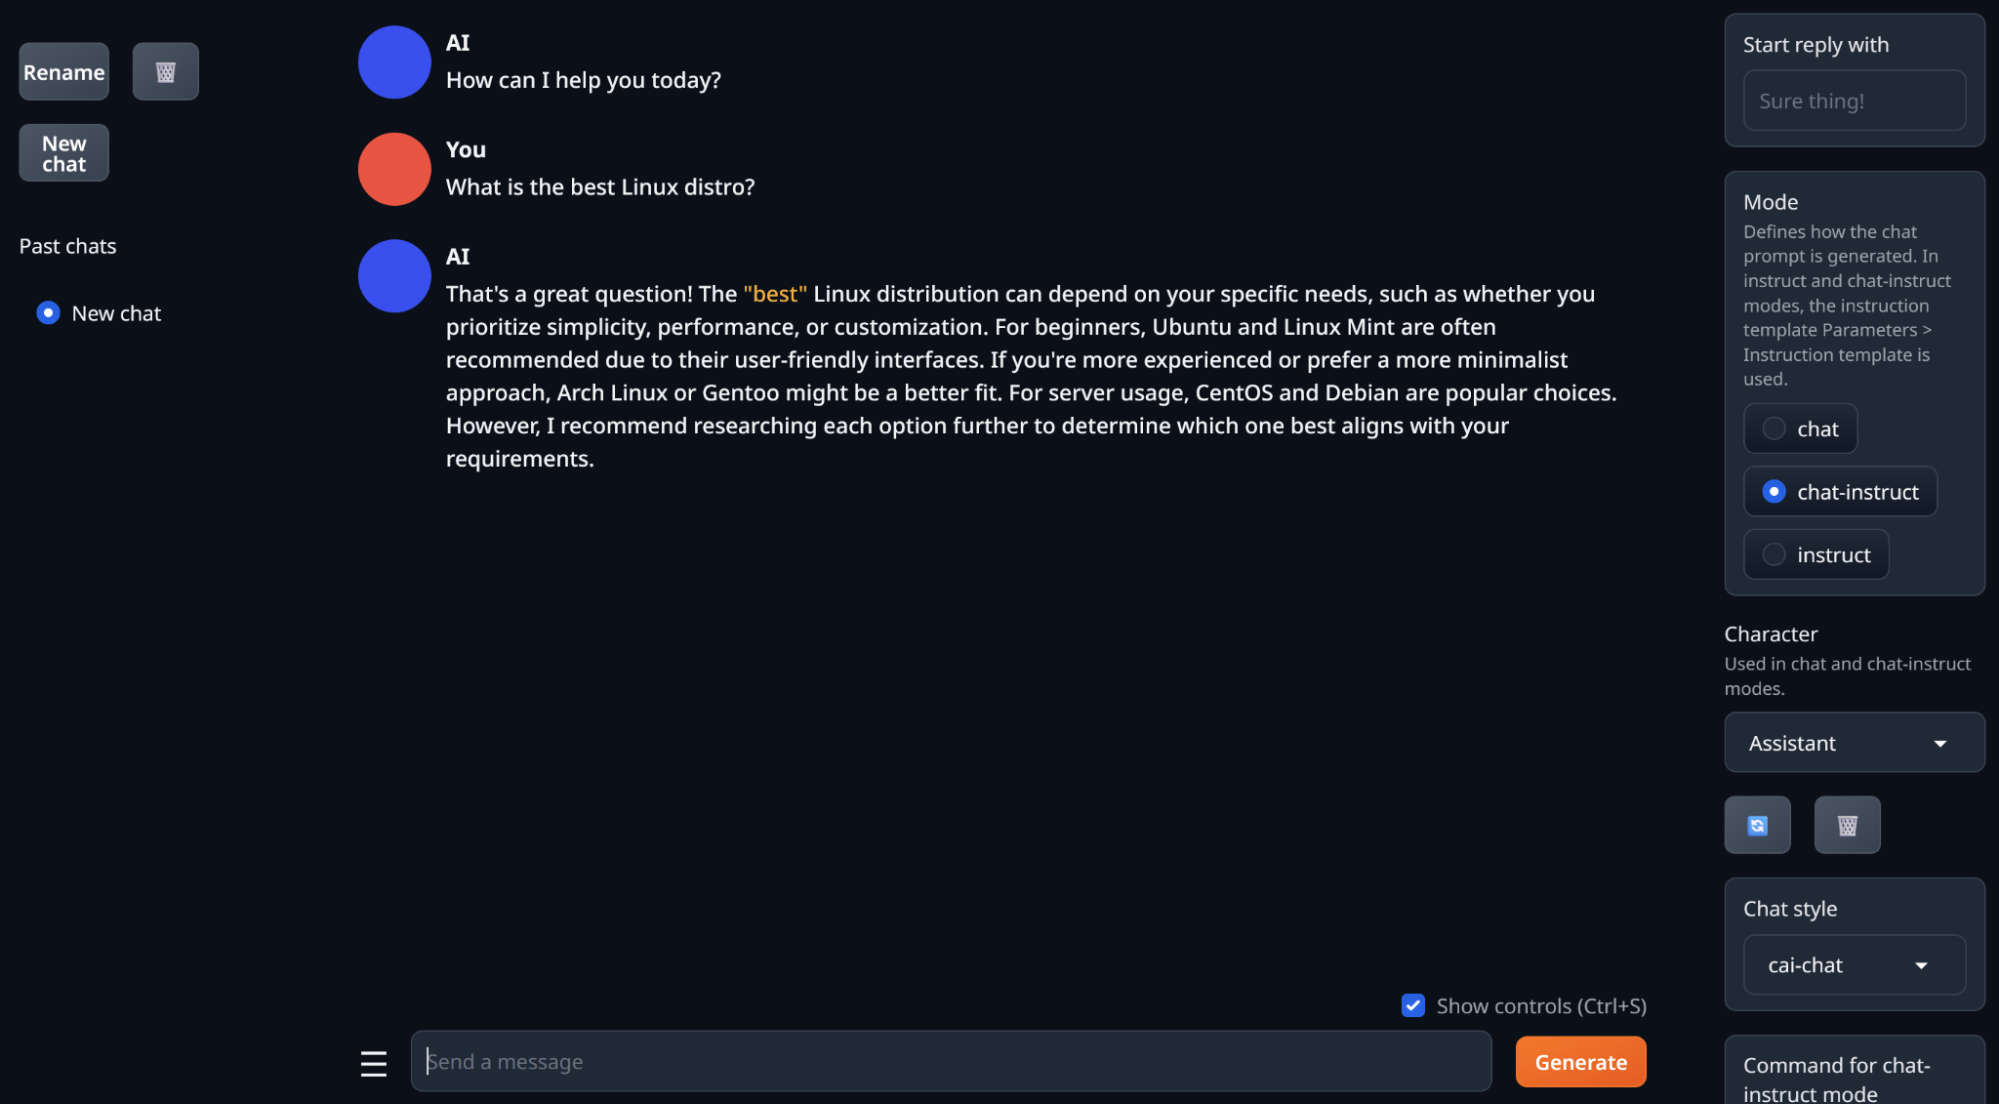
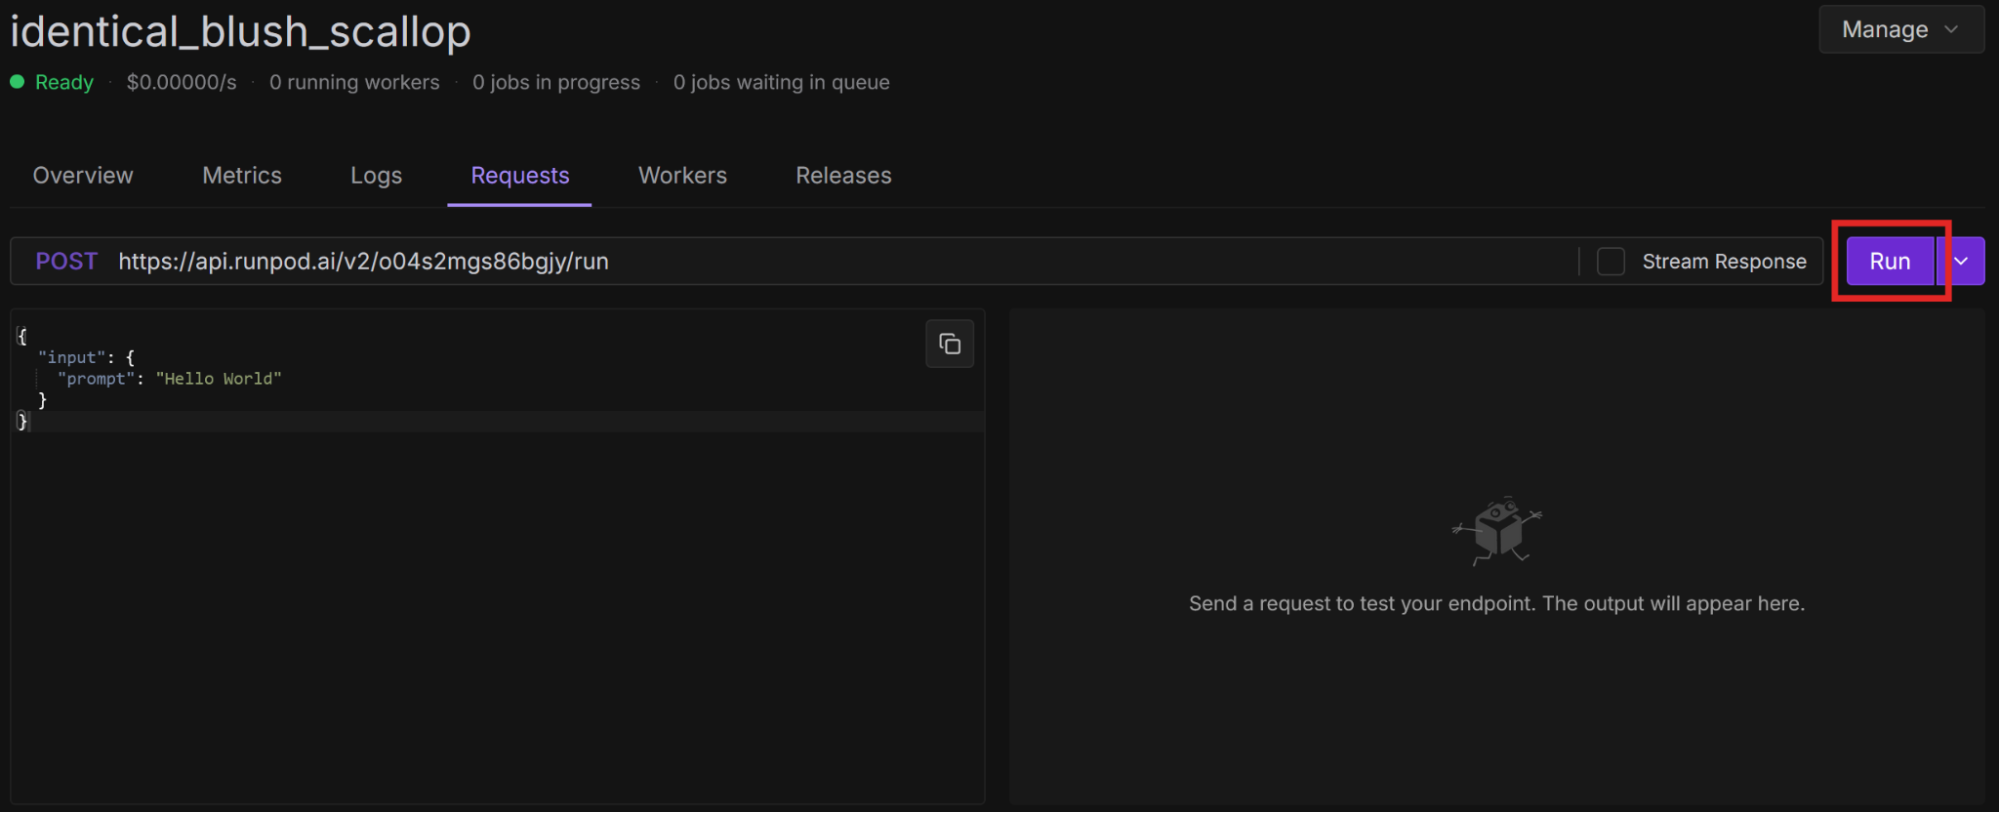
Select Run to initialize the workers and send a “Hello World” prompt to the model. You can watch the status of the request on the page, which is refreshed every few seconds.
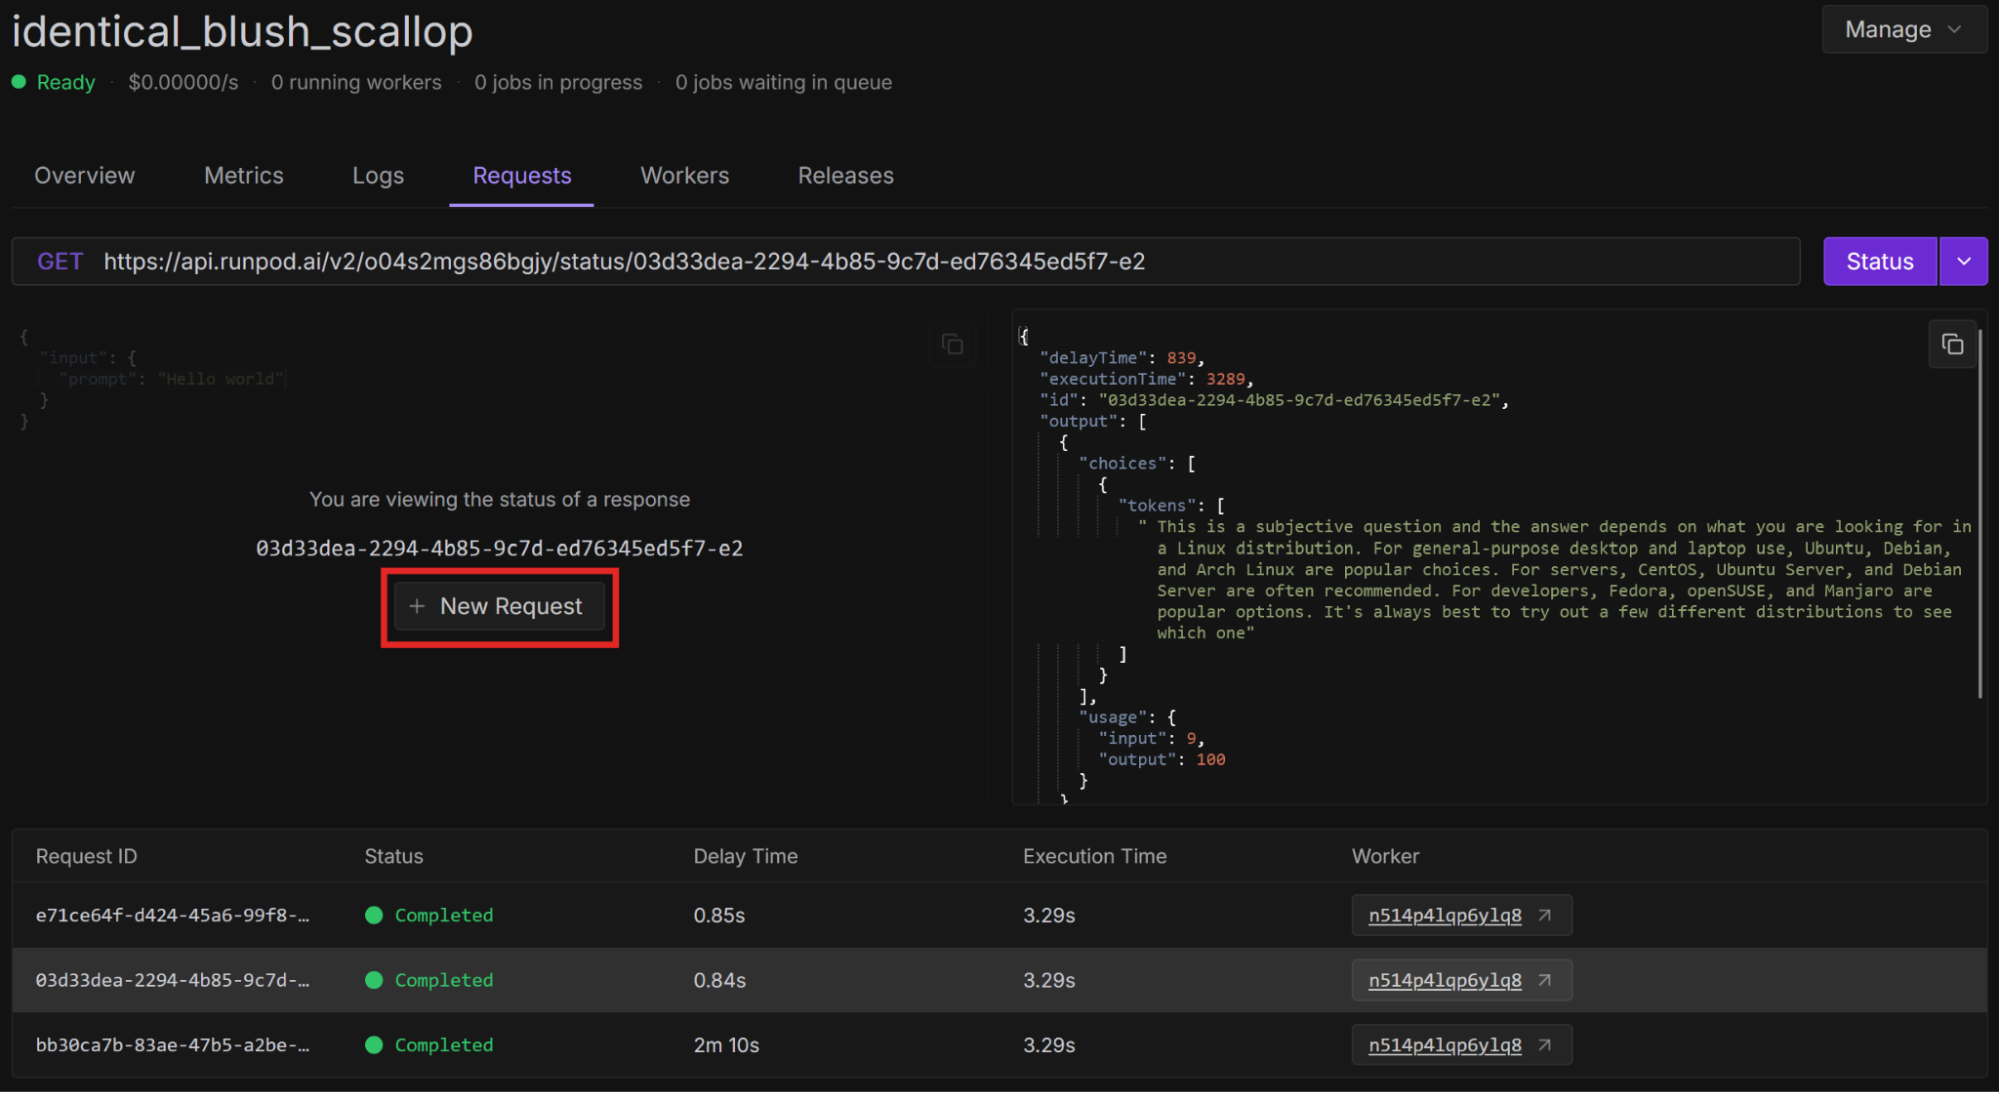
The response may be weird - I got some commentary on an American football team. You should get a better response if you ask a question. Select New Request to input a different prompt, like “What is the best Linux distro?”
Compare the performance of using vLLM workers across various situations:
You should see performance gains across the board when using vLLM workers, both in terms of inference speed and cost.
If you want to further optimize performance, try increasing the minimum active workers. When a worker is not being used, it goes into an idle state, from which it takes some time to wake up and start a new task. If you have a certain number of active workers available at all times, you can decrease the time it takes to start a new task. For more ways to optimize your endpoints, see Endpoint configuration and optimization.
Don’t forget to delete your endpoints when you’re done using them. On the endpoint overview page, select Manage > Delete Endpoint.
Once you are comfortable deploying a model like Mistral-7B using a pod template or vLLM on Runpod Serverless, there are many things you can do to further optimize for performance and cost. We’ve only touched on a few here, but there are so many more areas to explore.
In summary, to optimize the performance of your workloads:
Author profile: Eliot Cowley
Blog Posts
Queue for any GPU spec, even one that's fully rented out, and we'll deploy it the moment capacity opens up. No more refreshing the console or running a sniping tool.

Explore why faster chips have shifted the bottleneck to AI infrastructure, and what that means for teams running production workloads.
.jpeg)
With MIG, we can partition RTX 6000 Pro cards into isolated 24 GB instances. Here's when it makes sense for your workloads.
