Learn how to set up a Runpod project, launch a Stable Diffusion endpoint, and generate images from text using a simple Python script and the Runpod CLI.
In this tutorial, you will learn how to generate images using Stable Diffusion, a powerful text-to-image model, on the Runpod platform.
CLI for project and image generation.
By following the step-by-step instructions, you'll set up the prerequisites, create a new project, and run a Python script to send requests to your endpoint and generate images based on text descriptions.
Prerequisites
Before getting started, ensure you have the following:
Network Volume: Create a Network Volume on the Runpod platform. Visit the Runpod Storage Console to set up your Network Volume. Ensure you have sufficient memory (at least 50 GB) to store your model and generated images.
Runpod CLI: Install the Runpod CLI by running the following command in your terminal:
Open your terminal and run the following command to create a new project: runpodctl project create
When prompted, enter your project name, for example: photo-competition
Select Stable Diffusion as the project type.
Leave the field blank for the default model (stabilityai/sdxl-turbo) or enter the name of another text-to-image Hugging Face model. You can find more models in the text-to-image category.
Keep the default values for CUDA and Python versions.
Select your Network Volume when prompted and wait for your Pod to come online. This process may take a few minutes.
Change to the project directory and start the development server: cd photo-competition && runpodctl project dev
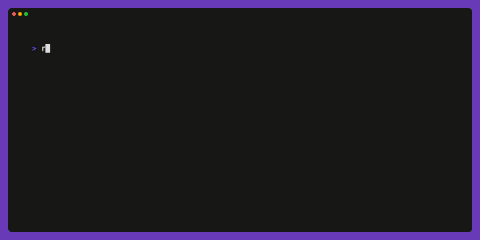
Once you see the following output in your terminal, your Pod is ready, and you can proceed to the next step:
Make note of your <YOUR_ENDPOINT_ID> as you'll need it in the next step.
2. Running the Python Script
Create a new Python script file, for example, script.py, and copy the following code into it:
Replace <YOUR_ENDPOINT_ID> with the endpoint ID you obtained in the previous step.
Customize the prompt value in the data dictionary with your desired text description for the image generation.
Save the Python script file as script.py.
Run the Python script using the following command: python script.py
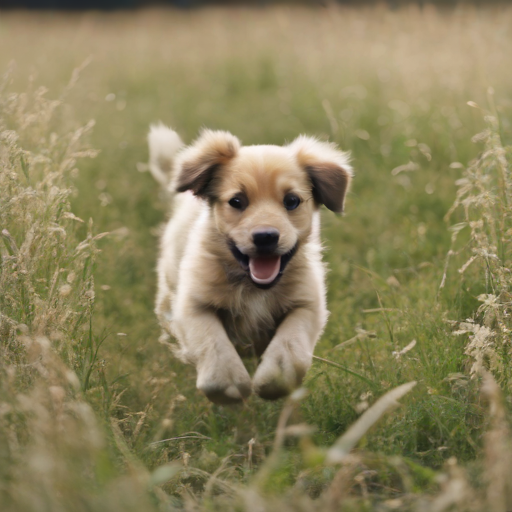
Puppy dog image generated from this tutorial.
The script will send a request to your Runpod endpoint, and if successful, it will generate an image based on your text description. The generated image will be saved as output_image.png in the same directory as your Python script.
Conclusion
Congratulations! You have successfully set up a Runpod project, created an endpoint, and generated images using Stable Diffusion. By following this tutorial, you have learned how to harness the power of text-to-image models on the Runpod platform.
Consult the model card you are using to customize the parameters, such as temperature, strength, or other parameterizes to control the image output.
You can provide more inputs to the src/handler.py file, save it and the Runpod server will sync your changes.
You can also dive deeper into the Runpod documentation and explore additional features and customization options to enhance your image generation workflow.
What's new in Runpod Serverless: Faster cold starts, batch inference, and no-Docker deploys
Whether you're already running production endpoints on Runpod or you're sizing us up for the first time, here's a plain-language tour of what Runpod Serverless does today, why it's faster and cheaper than it was six months ago, and how to deploy your first endpoint in minutes.
Beyond the Notebook: The Engineering Realities of Production AI Agents
Shift from stateless inference to stateful architectures to resolve infrastructure bottlenecks like memory management, concurrency limits, and runaway jobs in production AI agents.


.jpeg)