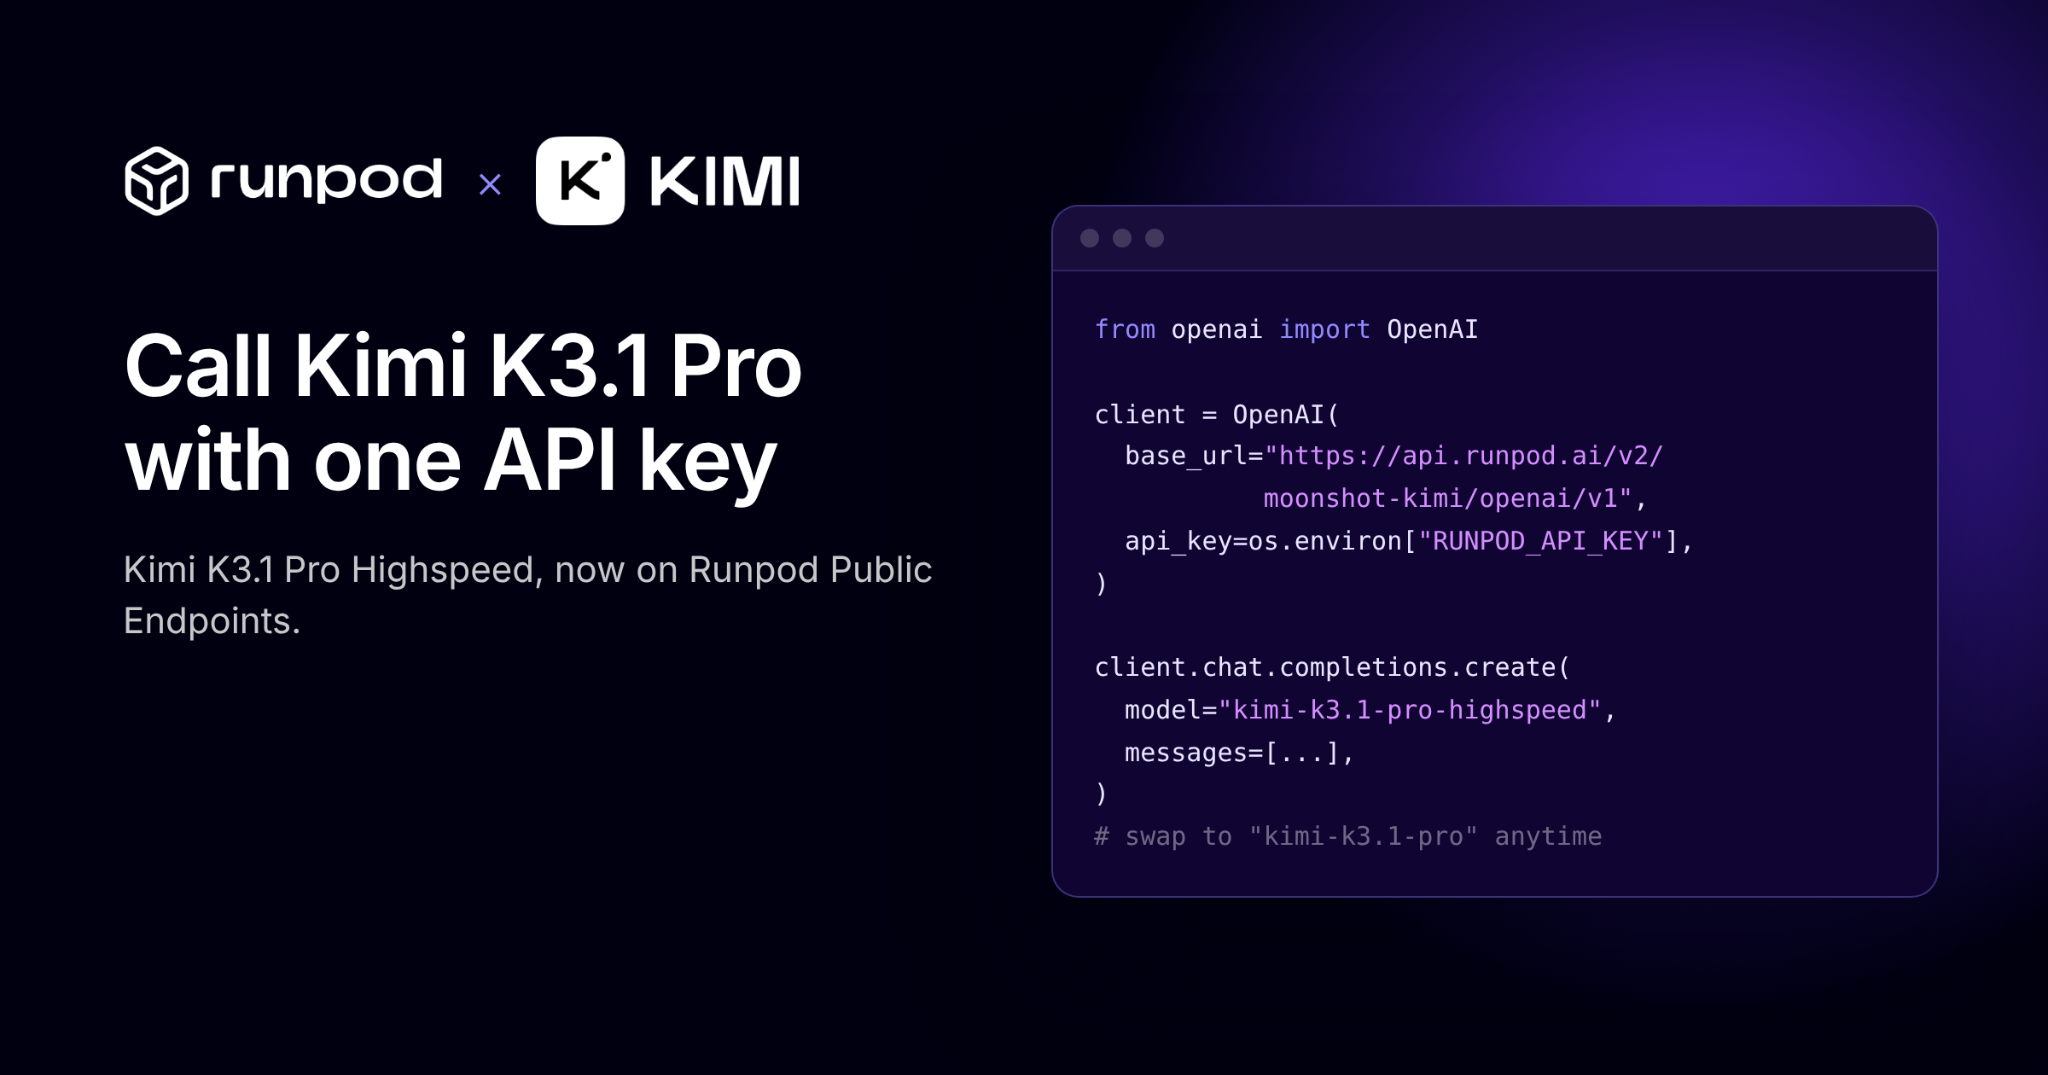
How to use Kimi K3.1 Pro and K3.1 Pro Highspeed on Runpod
Moonshot AI's Kimi K3.1 Pro and K3.1 Pro Highspeed are now available on Runpod Public Endpoints. Here's how to get started with the Playground, curl, and Python.
All
 Skip to main content
Blog
Build a custom Docker image with PyTorch and a short GPU-check script, push it to Docker Hub, and save it as a private Runpod Pod template so every new Pod starts with your setup in place.


Setting up a GPU environment is useful work the first time. Repeating the same installs on every new Pod gets old quickly. A custom image lets you keep that setup, and a Runpod template gives you a saved configuration for launching it again.
Build a custom image containing PyTorch and a short Python script, publish it to Docker Hub, then save its settings as a private Runpod Pod template. The test is a tiny GPU calculation that doubles three numbers. You run it from the Pod's terminal, so the first check needs no model, dataset, or web application.
Three pieces work together:
Saving a template doesn’t package files from a running Pod. If you install a library from a Pod’s terminal, the next Pod launched from the same template won’t have it. Add reusable software to the Dockerfile, build a new image, and update the template’s image reference. Runpod’s template overview explains how templates fit into the deployment process.
This example uses a public Docker Hub image and a private Runpod template. Those are independent choices: a private template doesn’t hide the files in a public image. A private registry also works, with pull credentials configured in Runpod.
You’ll need Docker with a working Linux container engine, a Docker Hub account, and a Runpod account for the GPU test. Docker can run on your computer or an existing build machine. Check that the engine is reachable:
docker infoIf that fails, start Docker or check the selected Docker context before working on the image. docker --version succeeds even when the engine isn’t running, because it only checks the command-line client.
You don’t need a local GPU for the build or CPU check. Build for linux/amd64, following Runpod’s custom template guide. On an ARM computer, you need emulation for both the build and the local test runs. Without it, use an x86 Linux machine for those steps. Docker’s multi-platform guide covers these options.
Run the local Docker commands in Bash or PowerShell with Linux containers. File-creation commands differ by shell; both versions are provided below. On Windows, you can also follow the Bash instructions in a WSL2 Linux terminal with Docker integration enabled. Run the later Pod commands inside the Pod’s Linux terminal. Replace uppercase placeholders with your values. The later Pod test uses billable compute and storage; check the deployment estimate and current pricing before starting it.
Start with the Runpod PyTorch tags on Docker Hub and the official PyTorch image README. Use the registry to find an available image and its platform; use the README to check the PyTorch, CUDA, and GPU combinations it supports. Entries ending in .sig are signature artifacts, so look for a versioned image with a linux/amd64 variant.
Choose the GPU family and software stack together. A CUDA version in the tag doesn't guarantee that every bundled library supports your GPU. For example, Runpod’s README includes separate Blackwell guidance and limitations affecting particular PyTorch and torchvision builds. Read the section for your intended hardware before choosing the cheapest available GPU.
Then check host support. Start by selecting a host whose advertised CUDA version is equal to or newer than the image's, and confirm any other requirements the image lists. For a CUDA 12.8 image, that means filtering for 12.8 or newer. Runpod’s CLI calls this filter --min-cuda-version; the console’s controls can differ. The rule is conservative, because NVIDIA's minor-version compatibility also supports some combinations, subject to feature and driver limits. See Runpod’s Pod creation options and NVIDIA’s compatibility guidance.
Once you’ve selected a tag, look up its digest:
docker buildx imagetools inspect runpod/pytorch:REPLACE_WITH_TAGSave the full Digest: sha256:... value from the top of the output, along with the tag and intended GPU family. Docker’s inspect reference shows this output. Building from the digest means a later push to the same tag can't silently change your base image. Docker explains this distinction in Pin base image versions.
The project uses three files:
gpu_check.py is a short Python script that checks PyTorch with a GPU, or with the CPU for local testing.Dockerfile tells Docker which base image to use and copies the script into your new image..dockerignore lists the files Docker should exclude from the build context to keep unrelated files out of the build.Create a directory and empty files, then add the contents shown below. Use this version in Bash (including a WSL2 Linux terminal):
mkdir runpod-template-demo
cd runpod-template-demo
touch gpu_check.py
touch Dockerfile
touch .dockerignore
In Windows PowerShell, touch is not a built-in command. Use this alternative:
New-Item -ItemType Directory -Path runpod-template-demo
Set-Location runpod-template-demo
New-Item -ItemType File -Path gpu_check.py, Dockerfile, .dockerignoregpu_check.pyThe default mode requires CUDA. Passing --cpu selects the CPU for local testing. Without that flag, a missing GPU stops the script with an error instead of quietly falling back to the CPU.
import argparse
import os

import torch


def main():
    parser = argparse.ArgumentParser(description="Check PyTorch in a template image")
    parser.add_argument("--cpu", action="store_true", help="run a CPU-only local check")
    args = parser.parse_args()

    if args.cpu:
        device = torch.device("cpu")
    else:
        if not torch.cuda.is_available():
            raise SystemExit("CUDA GPU unavailable: check your image, driver, and GPU.")
        device = torch.device("cuda:0")

    numbers = torch.tensor([1.0, 2.0, 3.0], device=device)
    result = numbers * 2
    print("Template label:", os.getenv("TEMPLATE_LABEL", "local-check"))
    print("PyTorch:", torch.__version__)
    print("Device:", result.device)
    print("Result:", result.cpu().tolist())


if __name__ == "__main__":
    main()
TEMPLATE_LABEL is an environment variable this script reads. When you set it in the template later, the printed value shows that the template setting reached Python. The final line copies the result to the CPU for printing; the tensor creation and multiplication happen on the selected device.
Dockerfile# Supply a compatible Runpod PyTorch image, preferably pinned by digest.
ARG BASE_IMAGE
FROM ${BASE_IMAGE}
# Keep the example outside /workspace so a persistent mount cannot hide it.
COPY gpu_check.py /opt/template-demo/gpu_check.py
# Inherit both ENTRYPOINT and CMD from the selected base image.ARG accepts the base reference at build time. FROM starts with that image, and COPY adds the script. Nothing installs another copy of PyTorch.
The script lives under /opt/template-demo, separate from the working storage mounted at /workspace. A mount can hide files baked into the image at its destination. Keeping application code outside that path also separates software updates from working data.
Copying the script doesn’t make it run. The Dockerfile keeps the base image’s startup process, which has to stay running so the Pod remains available while you open a terminal and run the check. The next section shows how to inspect that process.
.dockerignore*
!Dockerfile
!gpu_check.pyThis allowlist keeps unrelated files out of the build context, including local credentials and datasets. When you later add requirements.txt, also add !requirements.txt before trying to copy it. Docker explains the exception syntax in its build-context documentation.
In the directory containing those files, build your first version. Replace REPLACE_WITH_DIGEST with the hex characters after sha256: in the digest you recorded:
docker build --platform linux/amd64 --build-arg BASE_IMAGE=runpod/pytorch:REPLACE_WITH_TAG@sha256:REPLACE_WITH_DIGEST -t YOUR_DOCKERHUB_USERNAME/runpod-template-demo:0.1.0 .The final dot makes the current directory the build context. The -t option names your new image; 0.1.0 is its version, independent of the base image’s version. Nearly all of the download is the PyTorch base, and your build adds one small file.
Run the CPU check:
docker run --rm --platform linux/amd64 --entrypoint python YOUR_DOCKERHUB_USERNAME/runpod-template-demo:0.1.0 /opt/template-demo/gpu_check.py --cpuExpected output includes:
Template label: local-check
PyTorch: <version from your selected image>
Device: cpu
Result: [2.0, 4.0, 6.0]A correct result confirms the copied file, Python, and PyTorch in one step. --rm removes the test container when it exits. --entrypoint python bypasses the image’s normal startup, so this result tells you nothing about whether the Pod’s startup will work. Docker’s container command documentation explains how ENTRYPOINT and CMD interact.
Next, inspect the image’s platform, startup defaults, and size:
docker image inspect --format '{{.Os}}/{{.Architecture}}' YOUR_DOCKERHUB_USERNAME/runpod-template-demo:0.1.0
docker image inspect --format '{{json .Config.Entrypoint}} {{json .Config.Cmd}}' YOUR_DOCKERHUB_USERNAME/runpod-template-demo:0.1.0
docker image ls YOUR_DOCKERHUB_USERNAME/runpod-template-demo:0.1.0The platform should be linux/amd64. Read any startup script named by the configuration. For example, if it names /start.sh, you can inspect that file without executing it:
docker run --rm --platform linux/amd64 --entrypoint cat YOUR_DOCKERHUB_USERNAME/runpod-template-demo:0.1.0 /start.shUse the actual path reported by your image. Follow any scripts it calls, noting required variables and services. The base image README is useful context, but the repository may have changed since your image was built, so read the scripts inside your image.
Test normal startup separately, without publishing ports:
docker run --detach --platform linux/amd64 --name runpod-template-startup YOUR_DOCKERHUB_USERNAME/runpod-template-demo:0.1.0
docker logs runpod-template-startup
docker inspect --format '{{.State.Status}} {{.State.ExitCode}}' runpod-template-startupLook for log lines showing that initialization finished, then confirm the container is still running afterward. A running status right after launch doesn't prove that startup succeeded. If startup requires GPU access or Runpod-provided settings, inspect the error and finish this check on the Pod. After reading the logs, remove this local test container:
docker rm --force runpod-template-startupLeave notebook ports closed for this example. Before exposing Jupyter in a future template, inspect its installed versions with python -m pip show jupyterlab notebook jupyter-server inside the image, check JupyterLab advisories, and verify authentication in the selected image. Neither a newer tag nor a working tensor calculation tells you which security patches are installed.
Create a Docker Hub repository named runpod-template-demo under your account. Choose public visibility for this walkthrough, then sign in and push, following Docker’s image-sharing workflow:
docker login
docker push YOUR_DOCKERHUB_USERNAME/runpod-template-demo:0.1.0
docker buildx imagetools inspect YOUR_DOCKERHUB_USERNAME/runpod-template-demo:0.1.00.1.0. Tags that look like versions can still be overwritten, so keep relying on the digest.For a private repository, configure Runpod registry credentials so Runpod can pull it. Your local Docker login doesn’t supply those credentials to Runpod. Keep registry tokens out of the Dockerfile and build arguments.
Open Templates in the Runpod console and choose New Template. Select the Pod template type if prompted. Use these settings, referring to the template management guide if the form has changed:
my-pytorch-templateYOUR_DOCKERHUB_USERNAME/runpod-template-demo:0.1.0apt/pip installs) also lives here, so increase it if your image is larger or you install packages after start./workspaceTEMPLATE_LABEL = my-first-templateSize the container disk from the docker image ls output in Build and check the image, and leave room for logs, caches, and temporary files. Docker Hub’s compressed transfer size isn’t a measure of the required filesystem space. The suggested volume size is a starting point for this tiny example, not a model-storage recommendation.
Remove any ports the form fills in before saving, because this script runs in a terminal and needs no notebook server. When you later add a web service, its startup, listening address, port, and authentication must agree with the template. Runpod’s HTTP proxy supplies HTTPS, but exposed services are publicly reachable and need their own authentication. See Expose ports.
Open Pods, begin a deployment, and select your saved template. Choose one available NVIDIA GPU from the family you checked in Choose a base image and compatible hardware, with suitable host CUDA support. Review the image, disk sizes, mount, environment variable, and total price before deploying. To test now, pick a GPU from the Available tab. For an out-of-capacity GPU, the console offers Deploy when available instead, which queues the Pod rather than starting it now.
Wait for image download and initialization to finish, then open Connect. Under Web Terminal, click Start if needed, followed by Open Web Terminal, as described in Runpod’s connection guide. Run:
python /opt/template-demo/gpu_check.pyExpected output includes:
Template label: my-first-template
PyTorch: <version from your selected image>
Device: cuda:0
Result: [2.0, 4.0, 6.0]
The label shows that the template's environment variable reached Python, cuda:0 is the first visible GPU, and the result shows that the tensor operation ran on it. Your real application will still need its own test with representative inputs.
If something fails, narrow it down before changing packages:
nvidia-smi to check GPU visibility, then inspect PyTorch with the command below.nvidia-smi
python -c "import torch; print('PyTorch:', torch.__version__); print('PyTorch CUDA build:', torch.version.cuda); print('CUDA available:', torch.cuda.is_available())"The CUDA support reported by nvidia-smi describes the driver; torch.version.cuda describes PyTorch’s CUDA build. They answer different questions. NVIDIA documents the driver field in its nvidia-smi reference.
For an extra reuse check, deploy a second disposable Pod from the saved template after cleaning up the first. Repeat the calculation with the same recorded image digest and compatible hardware. If it passes, your setup doesn’t depend on anything you installed manually during the first session.
Save anything you need before stopping, restarting, editing, or terminating a Pod. The container disk is temporary and cleared on stop. A normal volume disk at /workspace survives stops but is deleted when the Pod is terminated. The script itself is safe because it’s baked into your image. See Runpod’s storage options.
For a finished disposable test, terminate the Pod and confirm that the console shows it gone. Stopping a Pod keeps its volume disk, which continues to bill for storage at a higher per-GB rate than a running Pod. If you attached a separate network volume, it survives Pod termination and remains separately billable. Check retained resources against Runpod’s pricing guidance.
Keep enough credit for any resources you retain. If your balance reaches zero, Runpod terminates Pods and that causes unrecoverable data loss for a Pod without a network volume. Download important files or back them up elsewhere; a saved template won’t recover them.
Keep your three source files, base tag and digest, published image digest, template settings, and tested GPU details together, so the next software change starts from a known state.
You’ve built a custom image, saved its settings as a Runpod template, and checked that PyTorch can run a calculation on a GPU. The next Pod you launch from that template starts with PyTorch and your script already in place.
Next, try adding a dependency or your own script to the Dockerfile. Build and push a new image version, update your template, and test it on a compatible GPU. Share what you build in the #built-on-runpod channel on Discord.
Blog Posts