.jpeg)
Deploy When Available is now GA
Queue for any GPU spec, even one that's fully rented out, and we'll deploy it the moment capacity opens up. No more refreshing the console or running a sniping tool.
All
Blog
InvokeAI is a creative engine for Stable Diffusion models. Launch it on Runpod when you want GPU-backed image generation without a local setup.


InvokeAI is a web-based creative engine for Stable Diffusion models used to generate, refine, and build visual AI workflows. This guide shows how to launch InvokeAI on Runpod when you want GPU-backed image generation without setting up CUDA and model dependencies locally.
Ever wanted to try invoke ai's awesome stable diffusion infinite canvas out, but didn't want to go through the hassle of installing a bunch of stuff? Maybe you just don't have a local GPU that can run it fast enough? No worries, we've got you covered with our easy deploy template for invoke ai!
If you don't have a powerful Nvidia GPU at home or you just don't want to go through the hassle of installing a bunch of drivers and managing dependencies, here's a really easy way to get started with invoke ai!
Just make sure to go to https://www.runpod.io/ and sign up for an account. Load up as little as $10 to get started.
I would recommend picking a 3090 GPU for this.
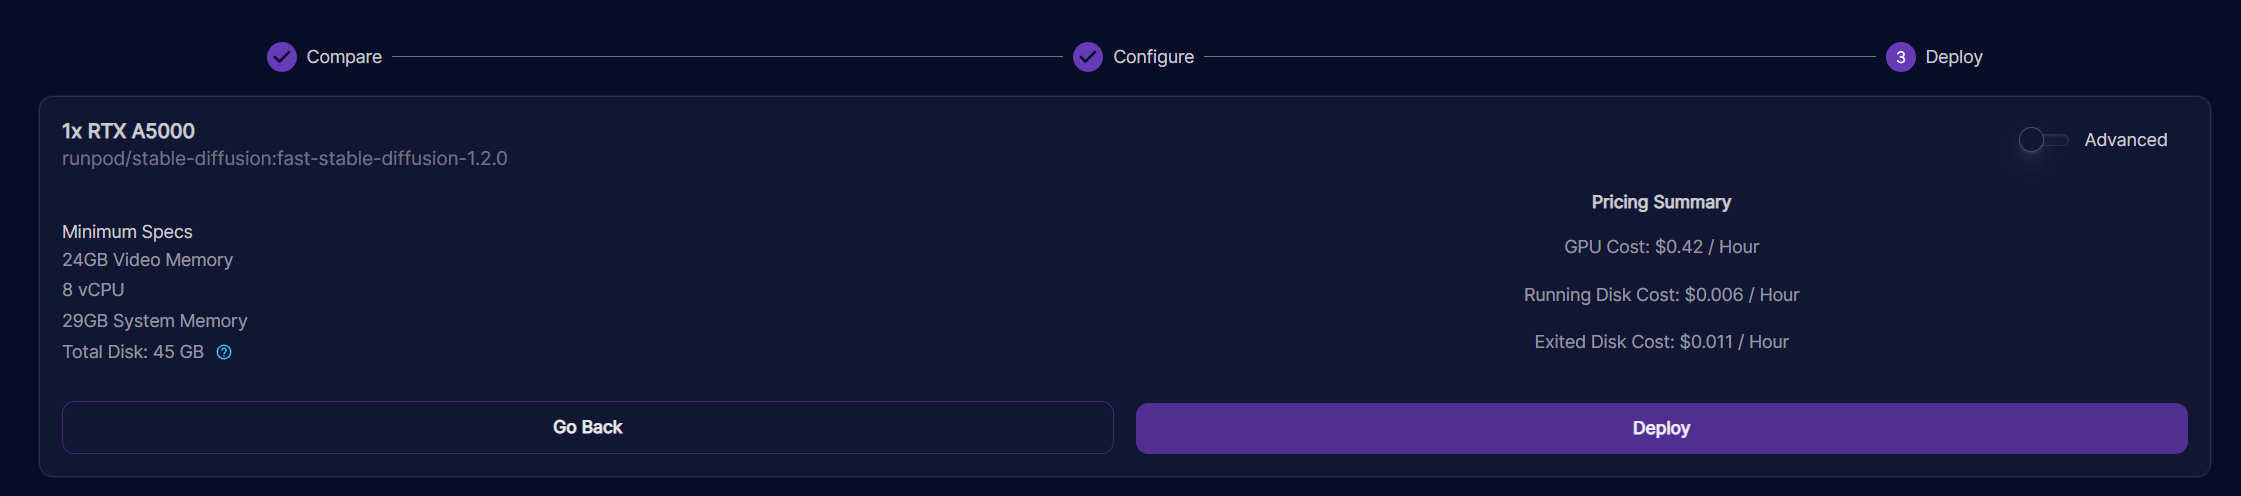
You can configure other settings to your liking, like requesting more disk space, or you can leave everything else default!
Deploy your instance through the UI, or you can click here to automatically load the template.
Go to your "My Pods" dashboard.
The new Invoke AI template does take a bit longer to set up, so this could take a few minutes or more depending on your pod's internet connection and CPU speed; please be patient! The older one started faster, but was harder to keep up to date with the latest features.
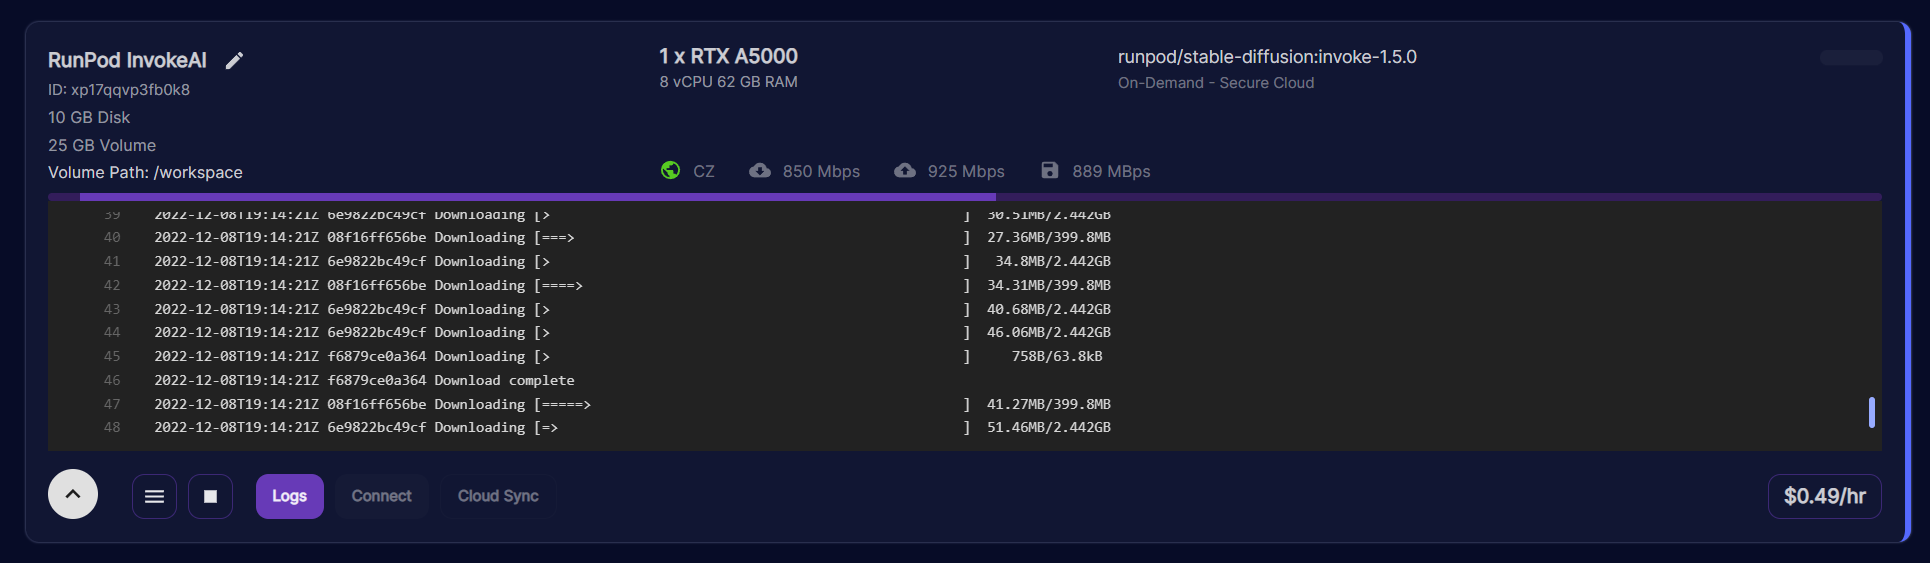
You will know when your pod is ready when the CPU Utilization drops to 0%. This may take a minute or two.
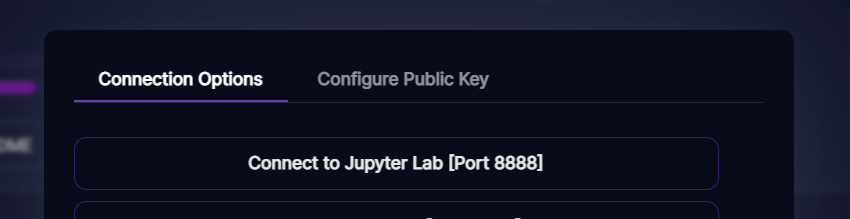
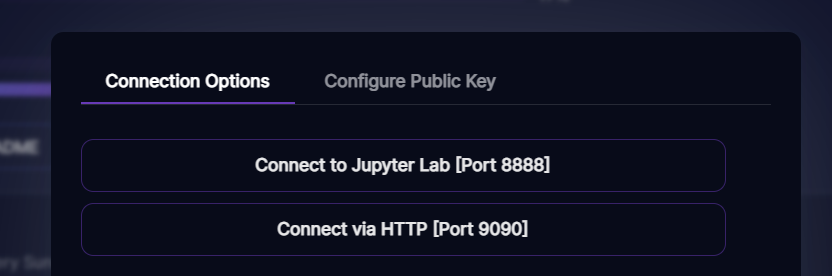
After a few minutes, you can click Connect and then connect to jupyter lab:
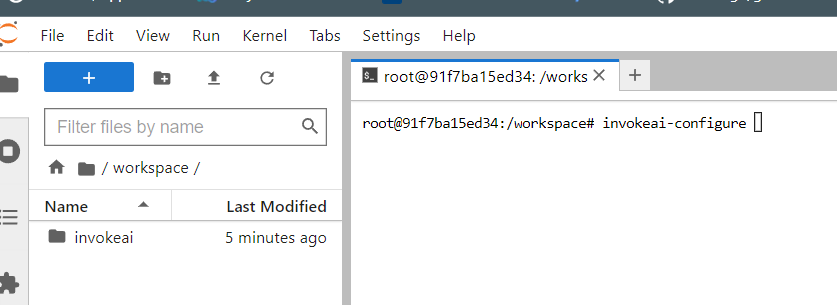
Once you're in jupyter, start a terminal tab:
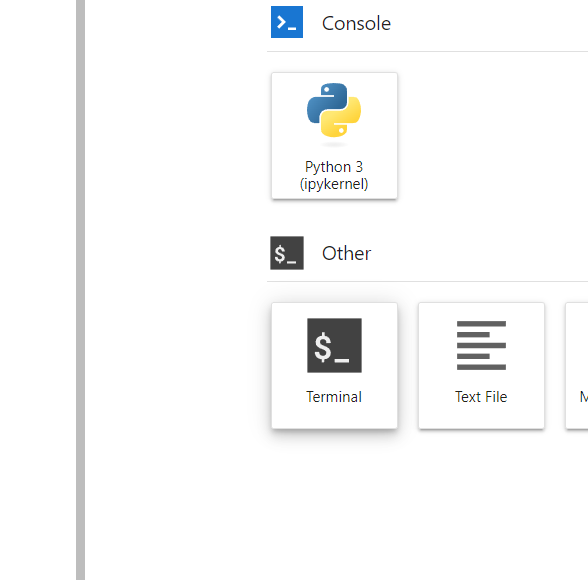
Then type invokeai-configure in your terminal window:
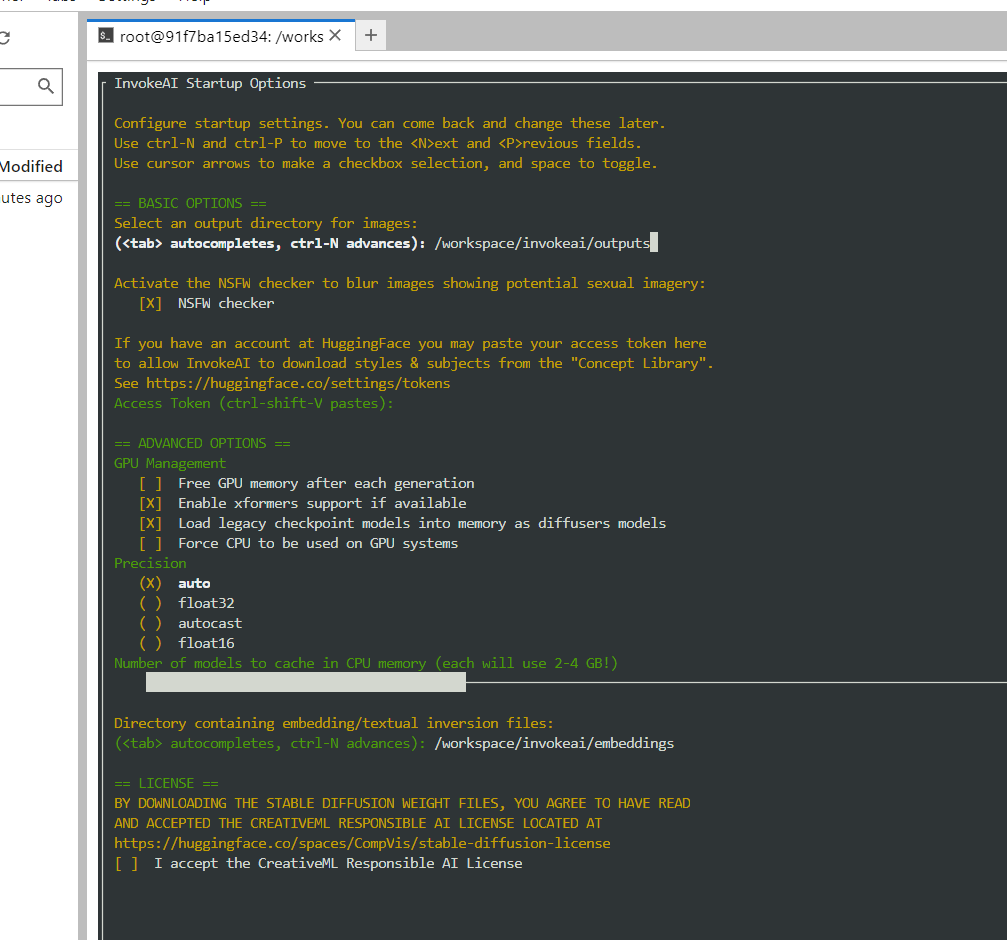
You should be presented with a menu of configuration options. Go through the menu options and make your choices to customize your invokeai experience.
Once this is complete, you should be able to launch the invoke UI by typing invokeai --web --host 0.0.0.0
in a terminal window.
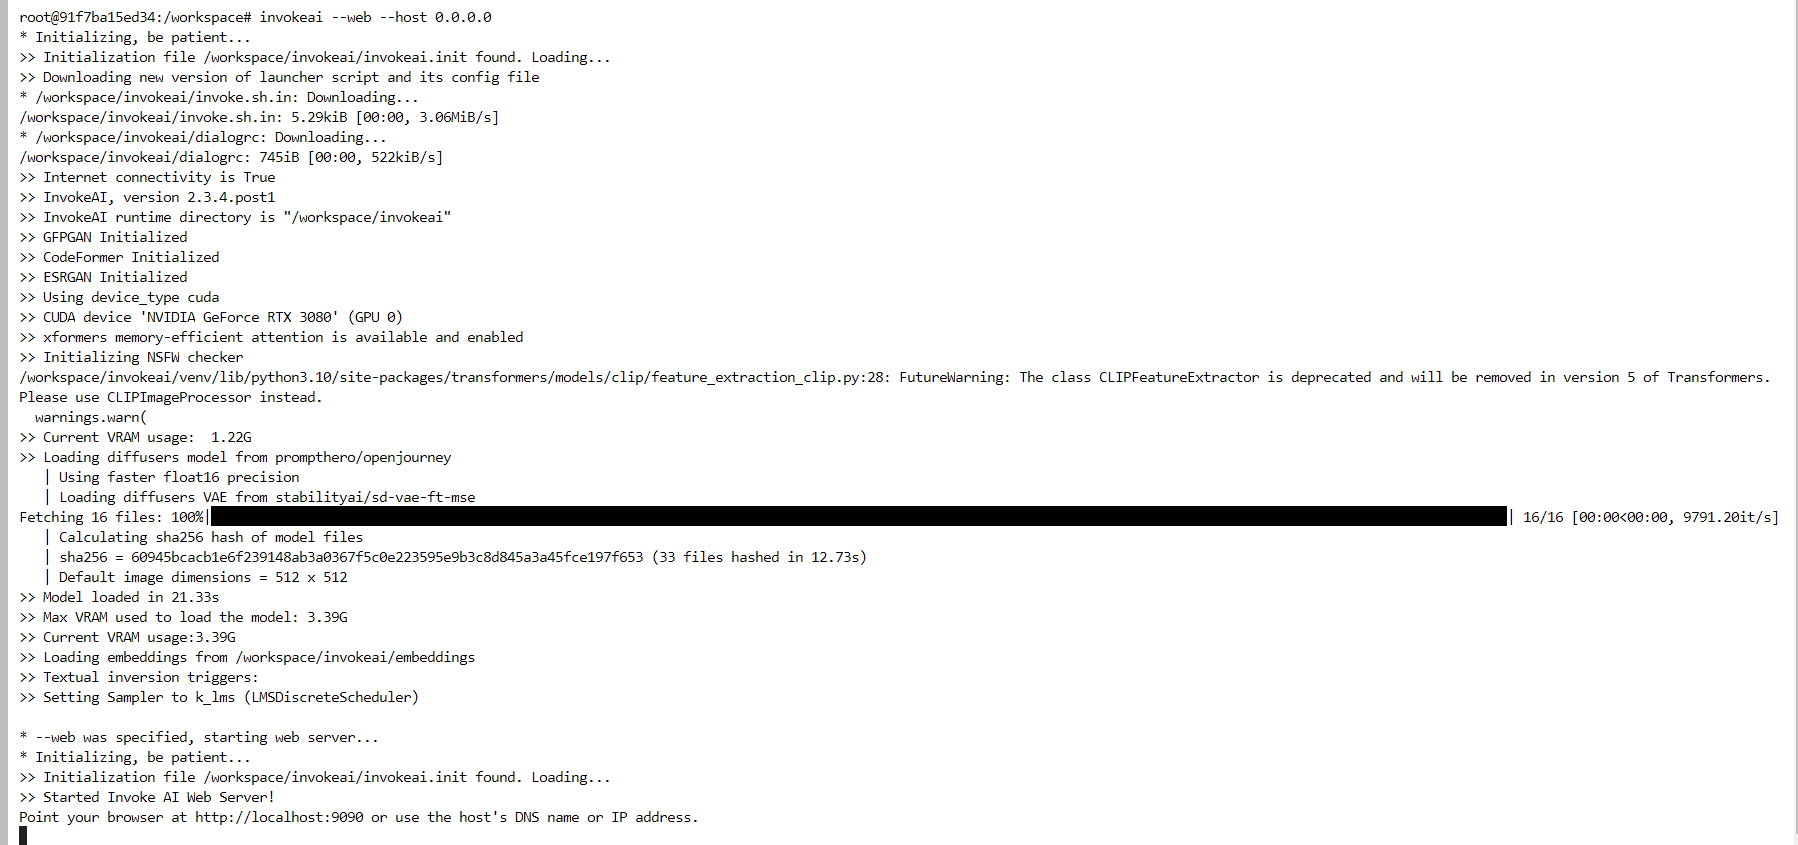
Go back to your pod dashboard, where you can now connect via port 9090
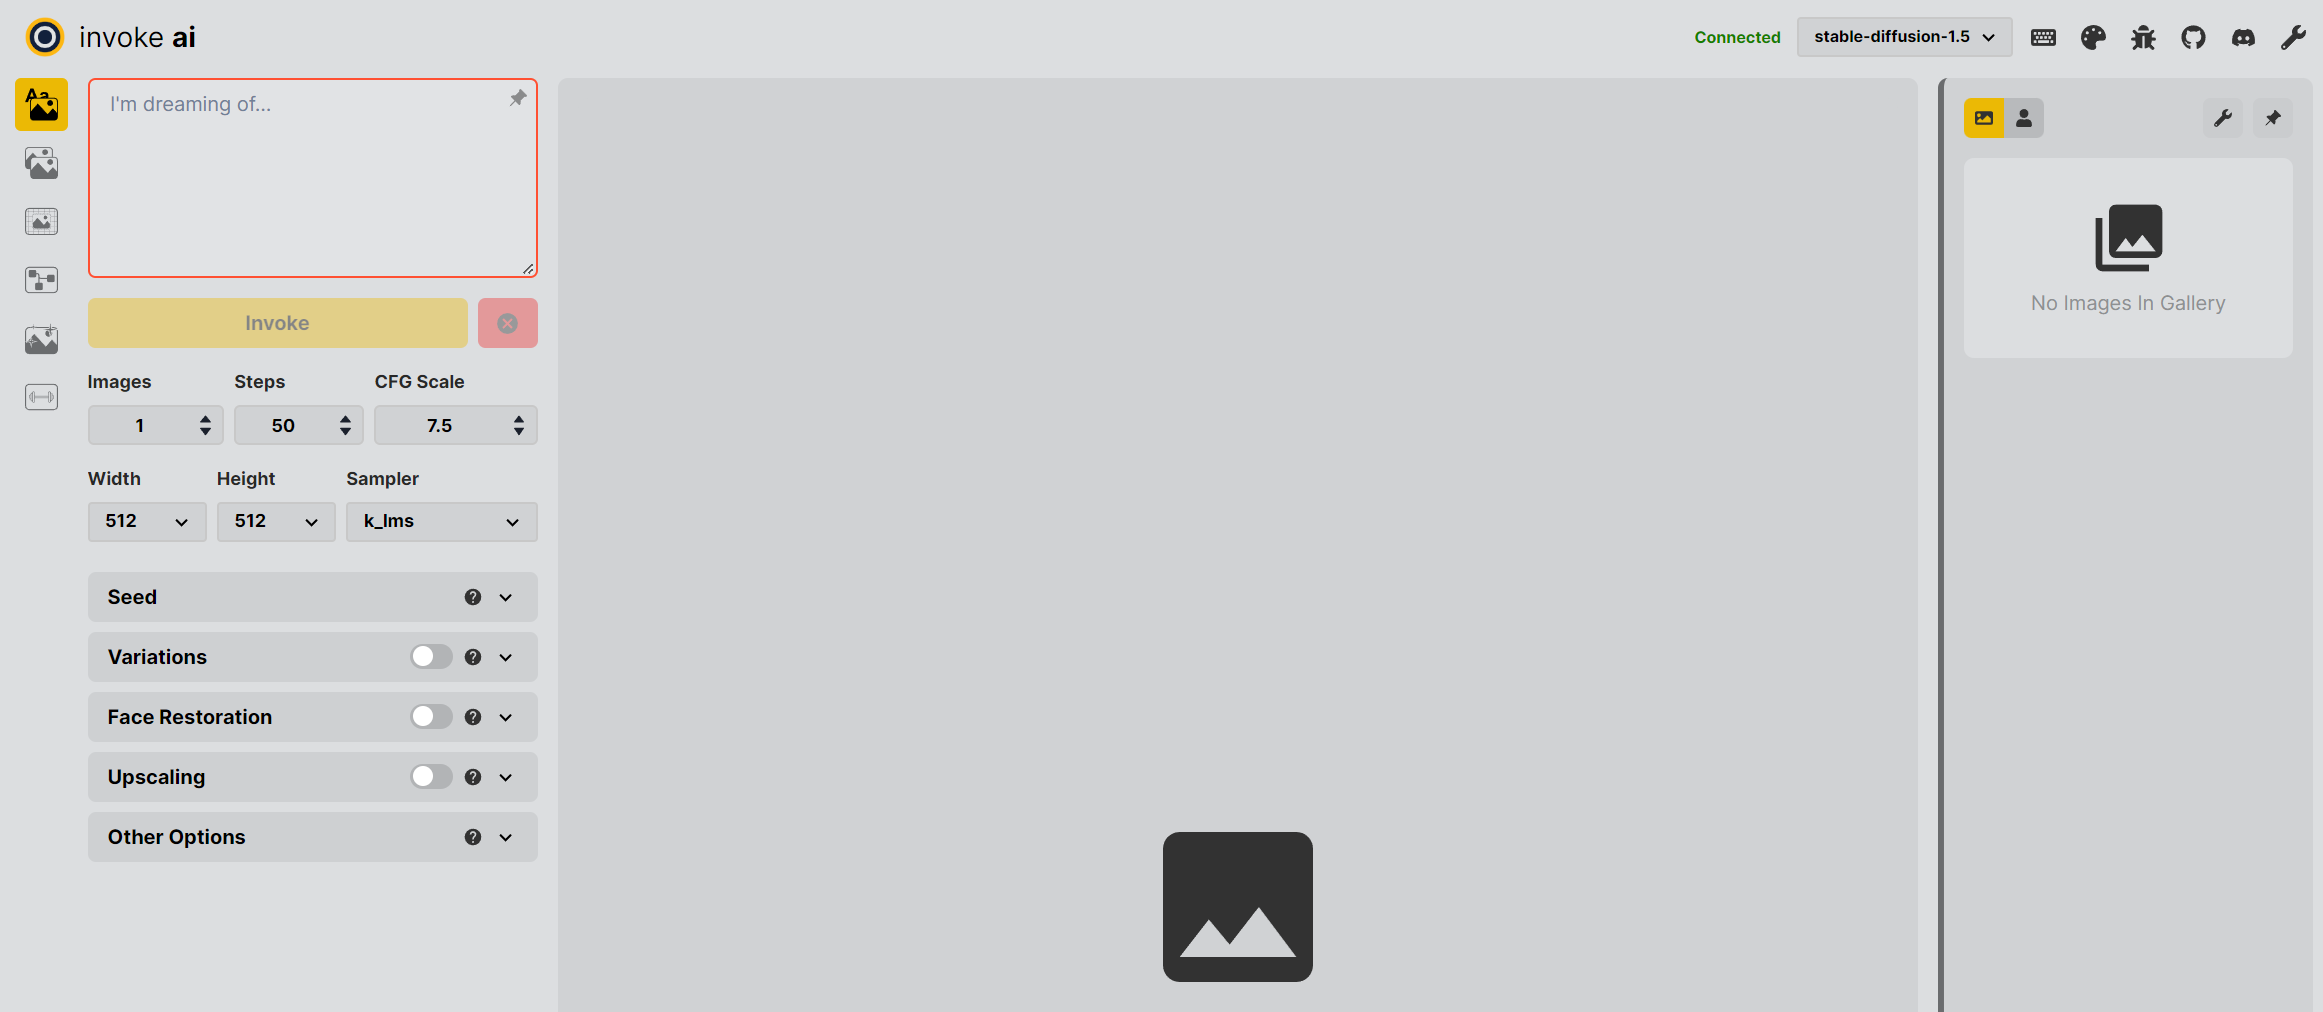
You should then be directed to the invoke ai starting page
Here are some cool videos made by the Invoke team showcasing their UI!
If you have any questions, or would just like to join the Runpod community, please visit us in Discord.
Author profile: Zhen Lu
Blog Posts
Queue for any GPU spec, even one that's fully rented out, and we'll deploy it the moment capacity opens up. No more refreshing the console or running a sniping tool.
Explore why faster chips have shifted the bottleneck to AI infrastructure, and what that means for teams running production workloads.
.jpeg)
With MIG, we can partition RTX 6000 Pro cards into isolated 24 GB instances. Here's when it makes sense for your workloads.
