Global Volumes are now in beta for Serverless endpoints
Attach a Global Volume to a Runpod Serverless endpoint and your workers start in any data center with your GPU types. Store model weights once, read anywhere.
All
 Skip to main content
Blog
Explore a unique artistic technique using Voronoi noise inits with Disco Diffusion on Runpod. This post walks through setup and tips for generating.

If you didn't know, every Disco Diffusion render needs to start with some kind of input. If you aren't using an init image, this input is Perlin noise, which is kind of like old school TV static. In this article, we're going to introduce another method of initialing your render: Voronoi. You can get some pretty interesting results with this, so check it out!
UPDATE: We've switched to the discoart template and it doesn't include this out of the box. What you can do if you want to try this is just to use a Voronoi generator like this one and use that as an init image.
If you are just interested in getting started, all you need to do is add this to your config file:
init_generator: voronoi
voronoi_points: 100
You may also want to increase your skip_steps to about 20% of your total steps to see a decent effect, but you can play around with this setting. Just like when using an init_image, the more steps you skip, the more prominent your initial image will be in your final result.
What this does, is it starts you off with a noise pattern that will look something like the following:
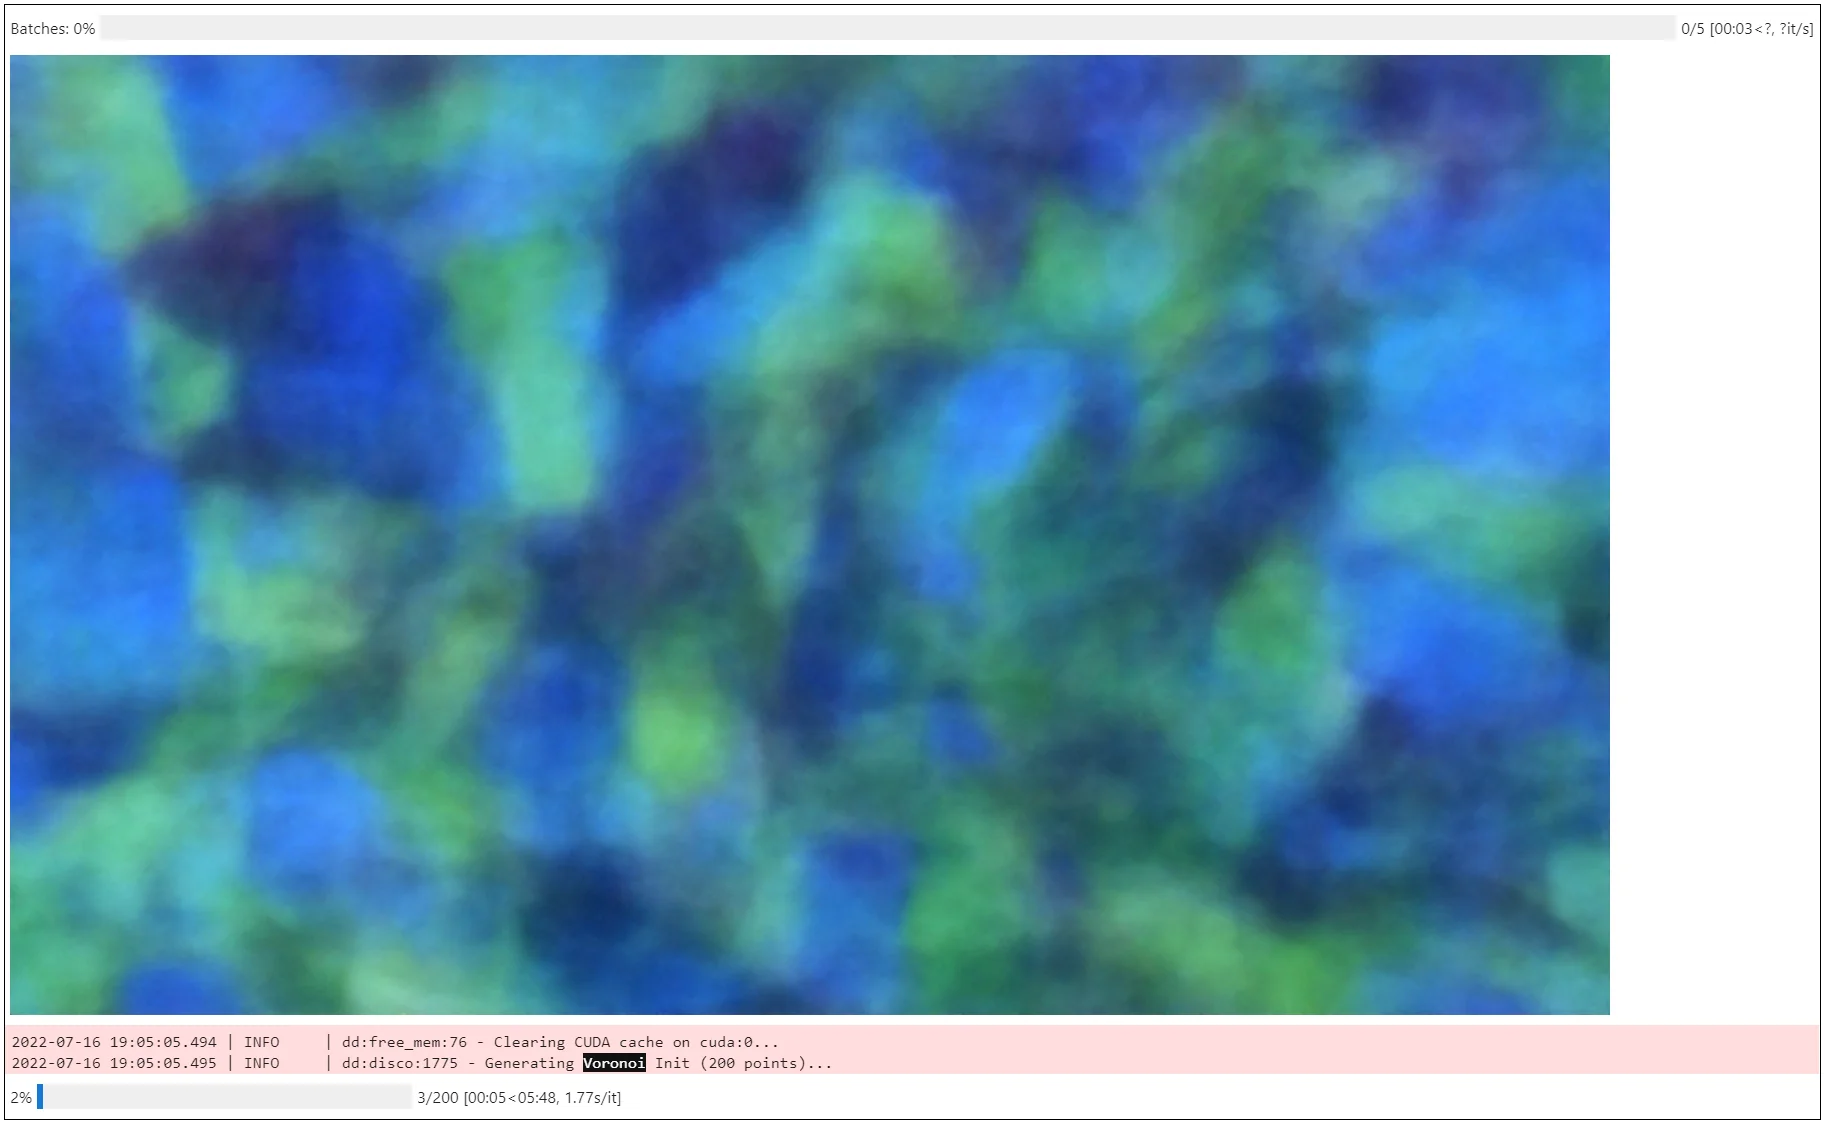
Instead of the normal tv-static perlin noise that looks more like this:
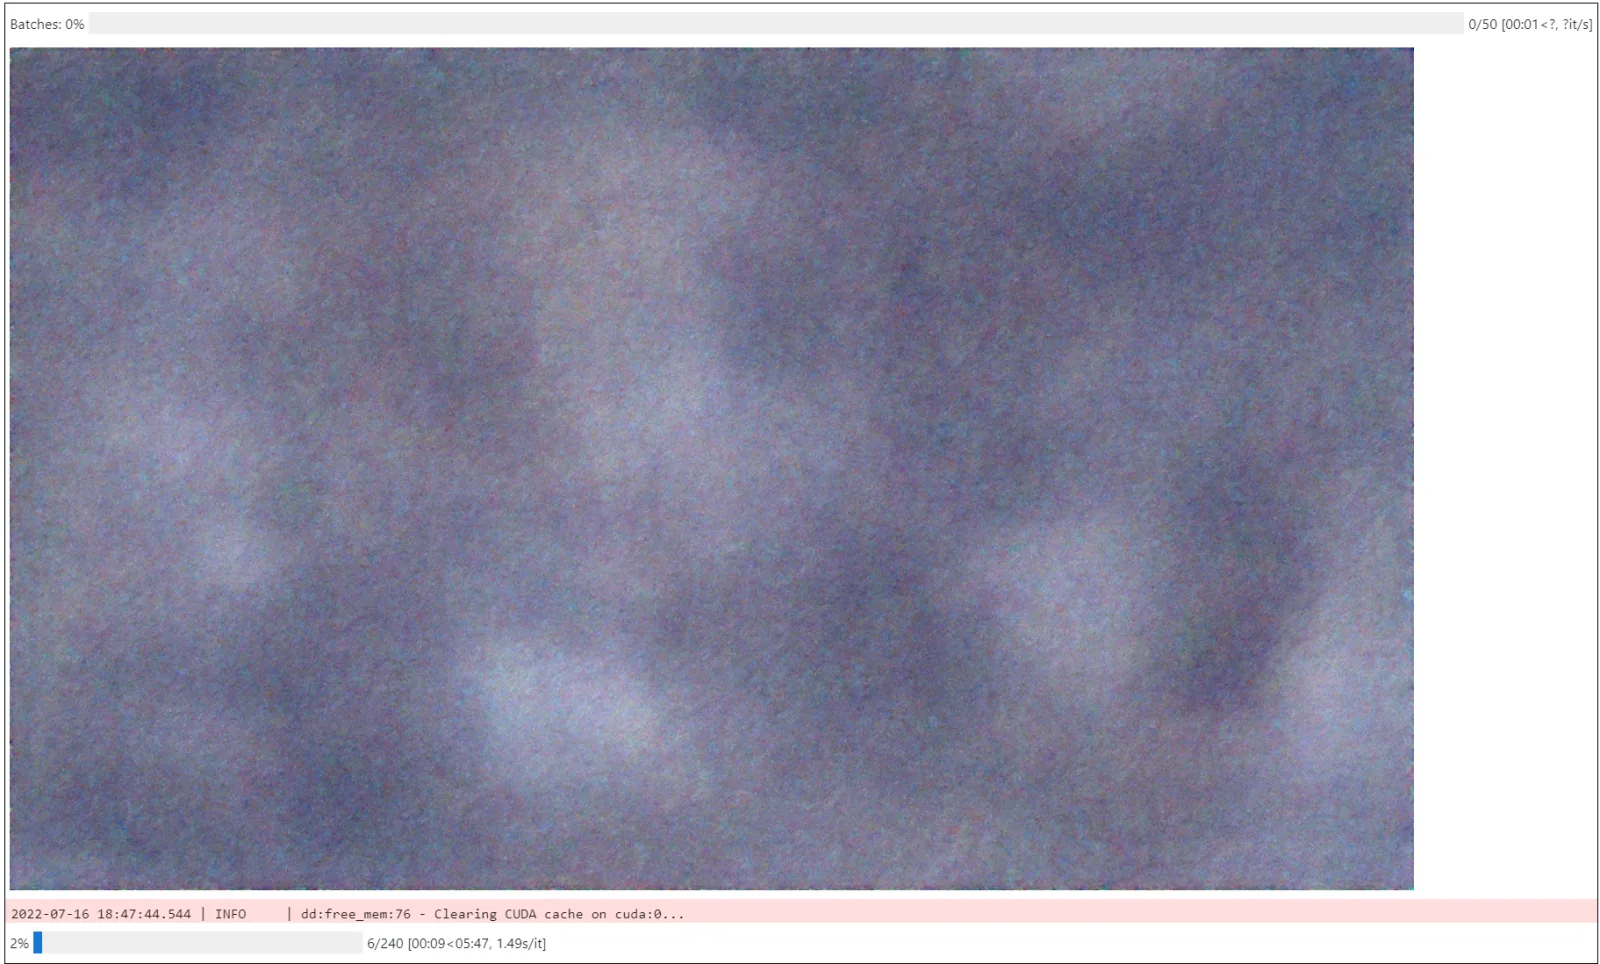
This gives you a more "interesting" starting point (Voronoi diagram), which can give you some interesting effects. The higher you make your voronoi_points param, the more little sections will be generated as starting noise. The above was made with 250 points. 25 points looks more like:

Where do the colors come from? You can customize them in two ways. The first way is the "static" method, where you define the static colors that each of your segments can be. This looks like the following:
voronoi_palette_embed:
  mode: static
  palette:
  - 0xFDA4BAFF
  - 0xFCBACBFF
  - 0xF26B8AFF
Each of your polygons in the Voronoi diagram will end up being one of those colors that you defined.
If you want something more fluid, you can use the "generated" type, which looks like this:
voronoi_palette_embed:
  mode: generated
  red:
    low: 0
    high: 128
  green:
    low: 0
    high: 255
  blue:
    low: 50
    high: 255
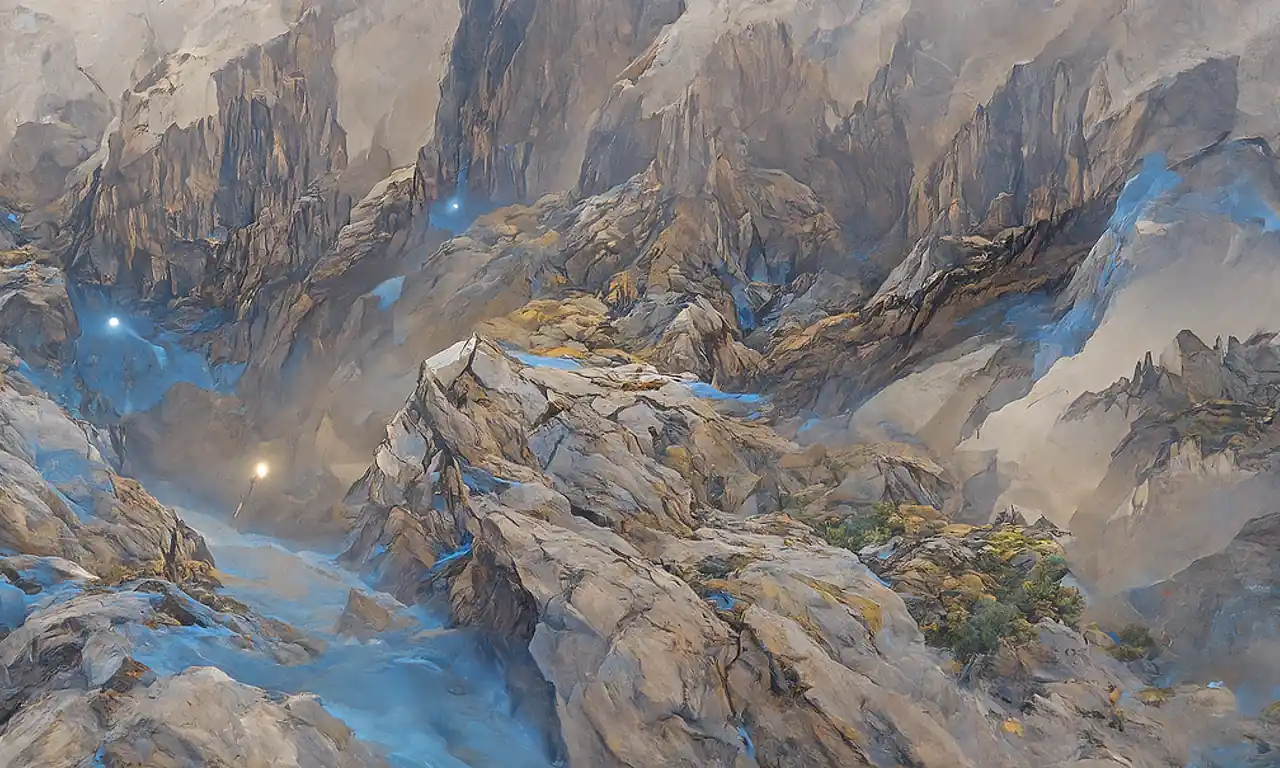
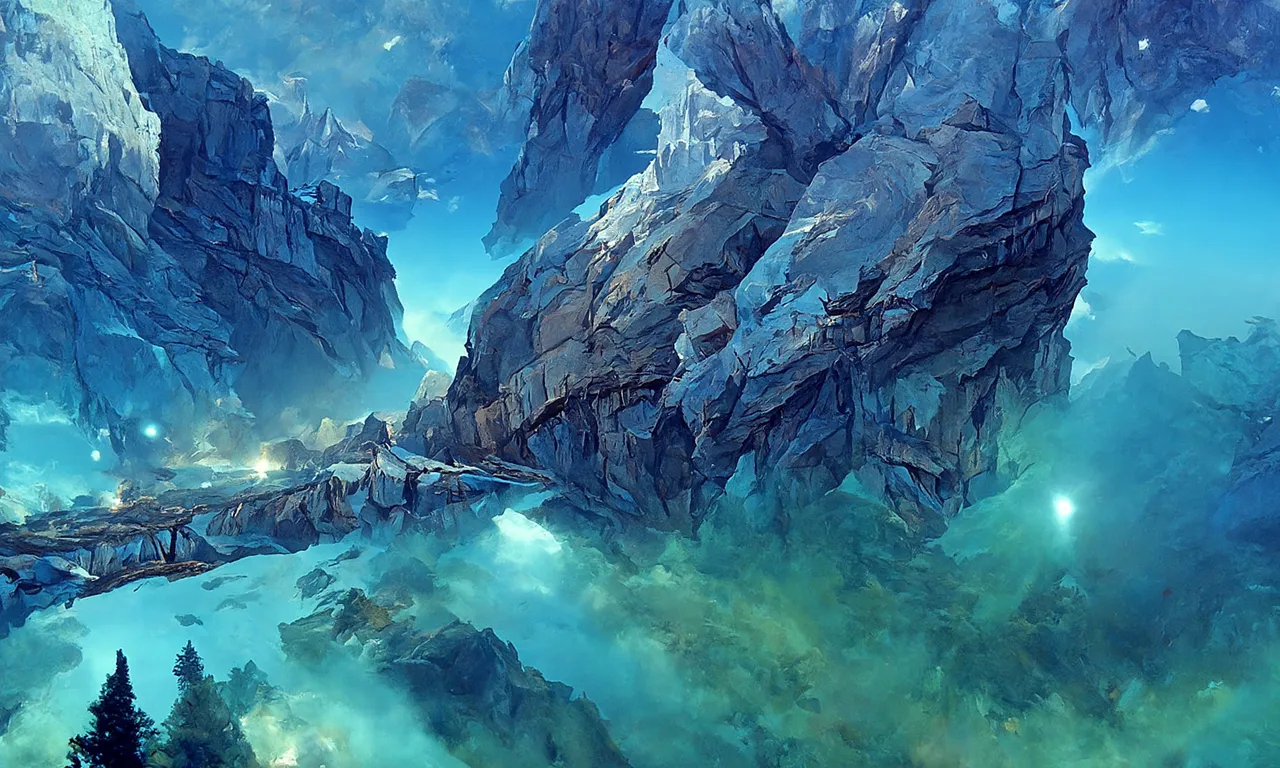
This will randomly generate colors based on your upper and lower RGB bounds. The above generated template is the default, and is largely skewed towards the blue end of the spectrum. Here are some example outputs that I got using Kroniksan's amazing rift study prompt:
Perlin with secondary model:
Voronoi with default palette secondary model:
Perlin with no secondary model:
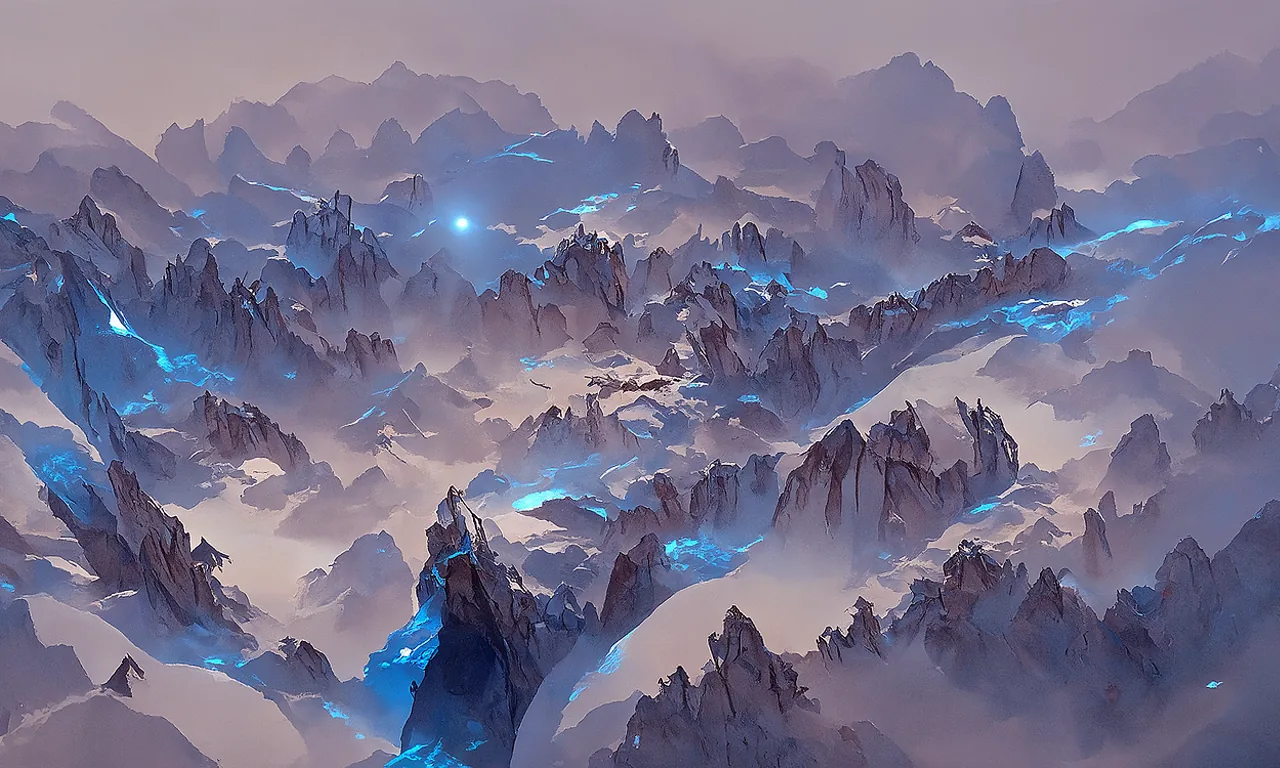
Voronoi with default palette no secondary model:
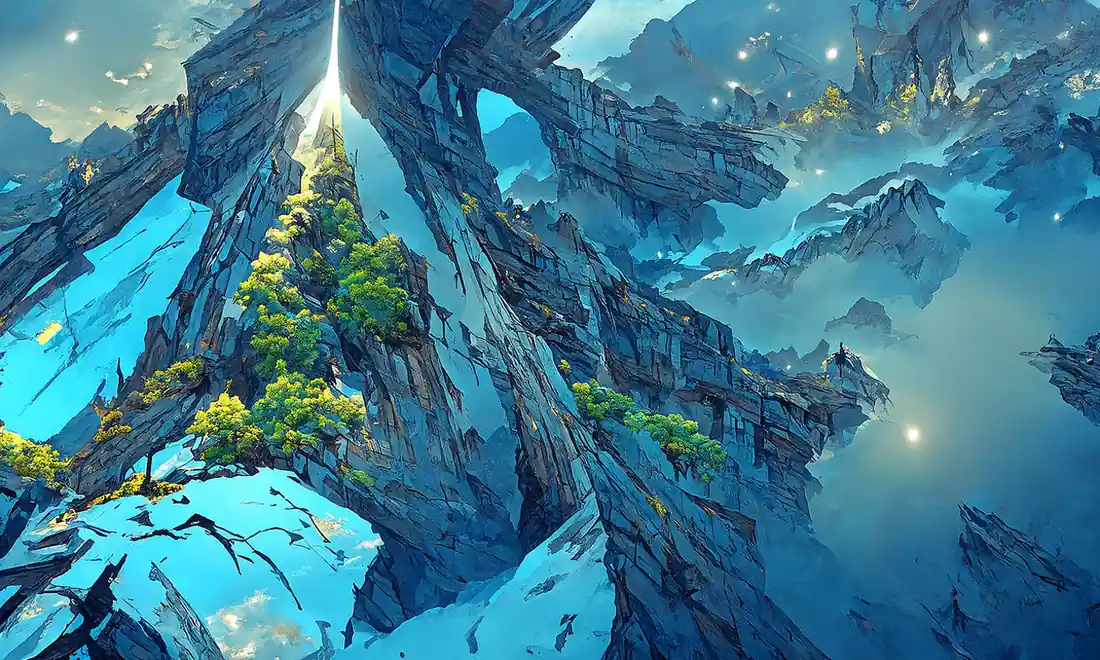
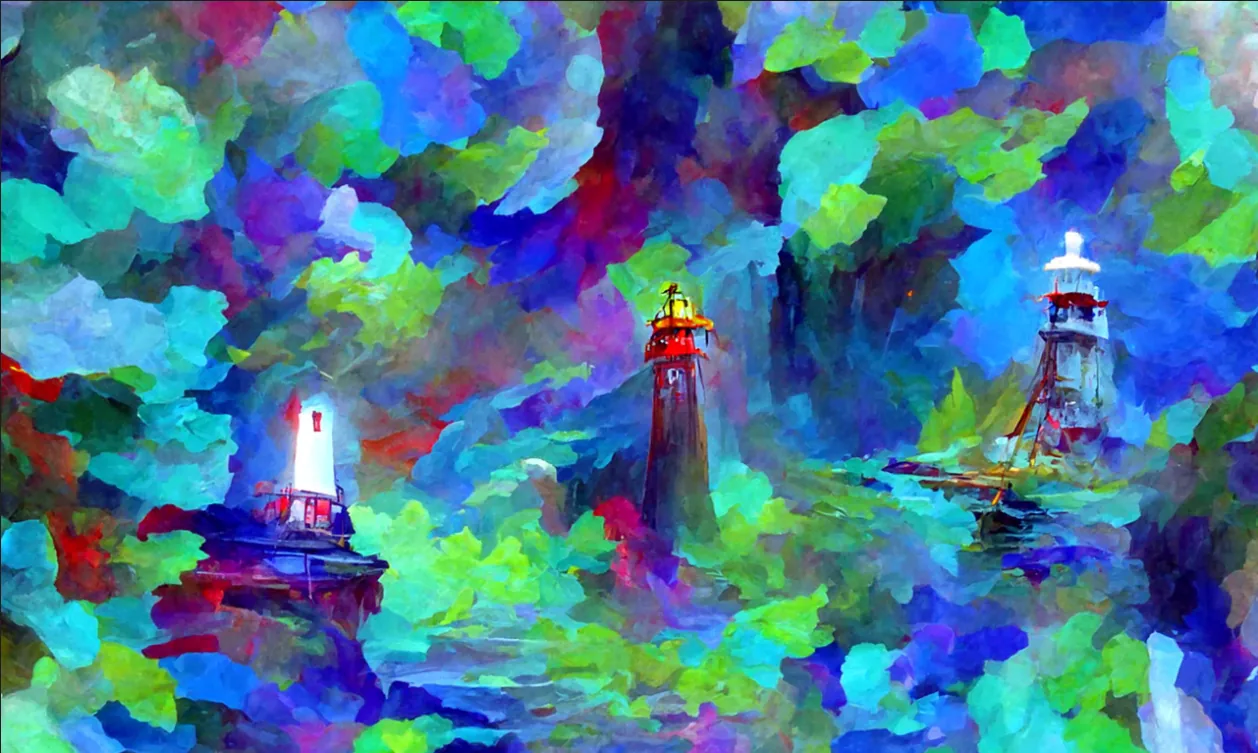
You can see that you can get some vastly different effects by using Voronoi as a starting point. If you really want to emphasize the starting palette for some really interesting effects, you can increase your skip steps like in this Voronoi-based lighthouse render:
Have fun!
Author profile: Zhen Lu
Blog Posts
.jpeg)